
Book Models
A selection of historic models I have made as part of my conservation training.
-

Limp Vellum Binding
Taught by Shaun Thompson
Sewn in a herringbone stitch on alum tawed thongs; single back-bead sewn endband; cover extensions for edge protection; alum-tawed ties.
-

Romanesque Binding
Taught by Shaun Thompson
Copy specific model of a 12th century binding from Pembroke College, Cambridge. Sewn on split leather raised bands on a flat spine; tawed skin covering over chamfered oak boards; sewn tabs on each end.
-

Coptic Binding
Taught by John Mumford
Unsupported loop chain stitch sewing which was extended into the laminated papyrii boards; page markers; covered with leather at full thickness, decorated with parchment lacing, open/cut work, and embossing.
-

Springback Binding
Taught by Richard Nichols
French link sewing over wide linen tapes; leather clowtings; laminated spring; quarter leather covering with vellum tipped corners; decorated edges.
-

Flexible Full Leather Binding
Taught by Richard Nichols
Sewn on raised cord supports; rounded and backed; half leather and gold decorate paper covering on chamfered mill boards.
-

16th Century Cambridge Binding
Taught by Jim Bloxam
Copy specific model based on a book from Cambridge University Library. Sewn on alum tawed supports; sewn decorative endbands; full leather covering on pulp boards; blind and gold tooling.
Western & Japanese Papermaking
Taught by Mandy Brennan
In this workshop, we made two different types of Japanese papers using Kozo and Gampi fibres. We started by soaking the bark overnight, then cooking them down with soda ash before pounding. Once the fibres are ready, we immersed them in water and added tororo as a formation agent. Tororo-Aoi is part of the hollyhock plant family, and it helps to adjust the viscosity of the water, a technique known as nagashizuki. The paper is formed using the shōshi dipping method with a traditional Japanese mould called su-geta, which produces the laid lines.
We also made Western papers using cotton, abaca, and linen fibres, using a traditional couching method.

Pre-soaking Kozo bark prior to cooking

Kozo bark after cooking with soda ash
Inner bark after pounding and peeling

Sheet of Japanese paper drying on glass

Sheets of cotton linter paper
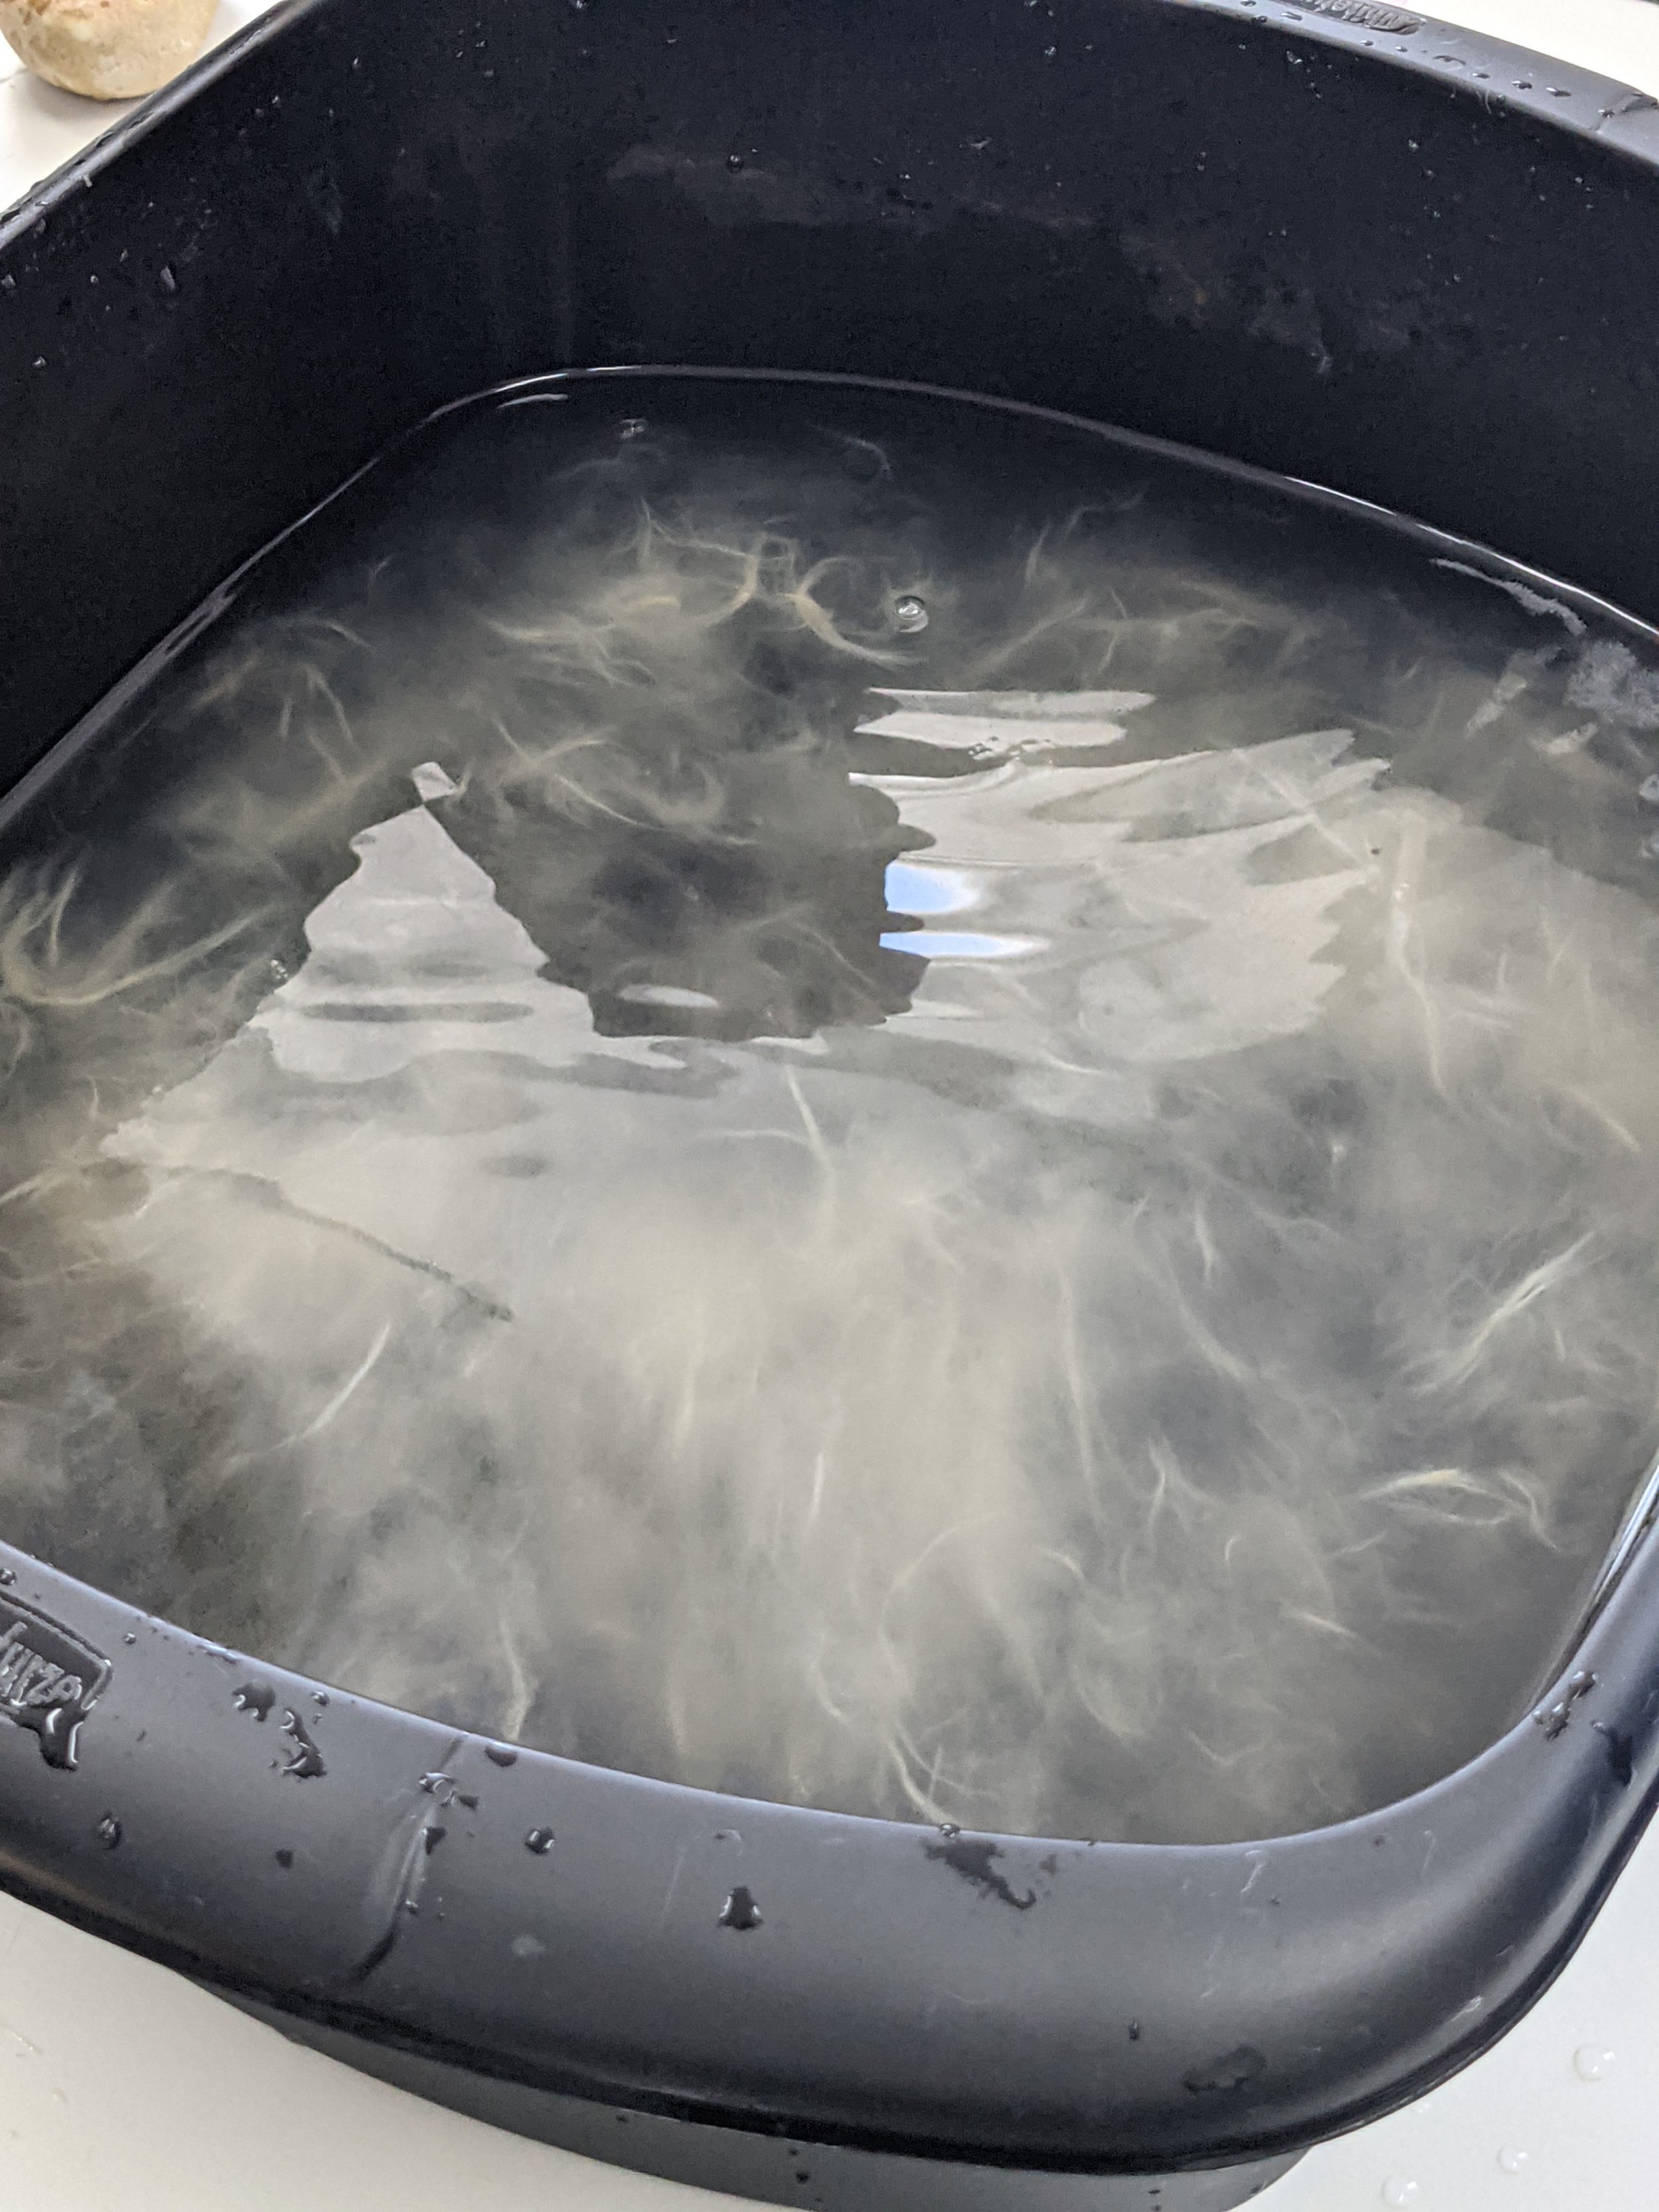
Medieval Drawing & Gilding
Taught by Sarah Davis
This course provided an overview of manuscript illuminations -- history, materials, and technique. It is a practical workshop to learn historical methods of parchment preparation, drawing, image transfer, pigment preparation, painting, and gilding. We did this by making a copy of zodiacs from a 13th-century psalter (BL Royal MS 1 D X).

Making gold leaf sample card using various mordants

Making "tracing paper" using Armenian bole
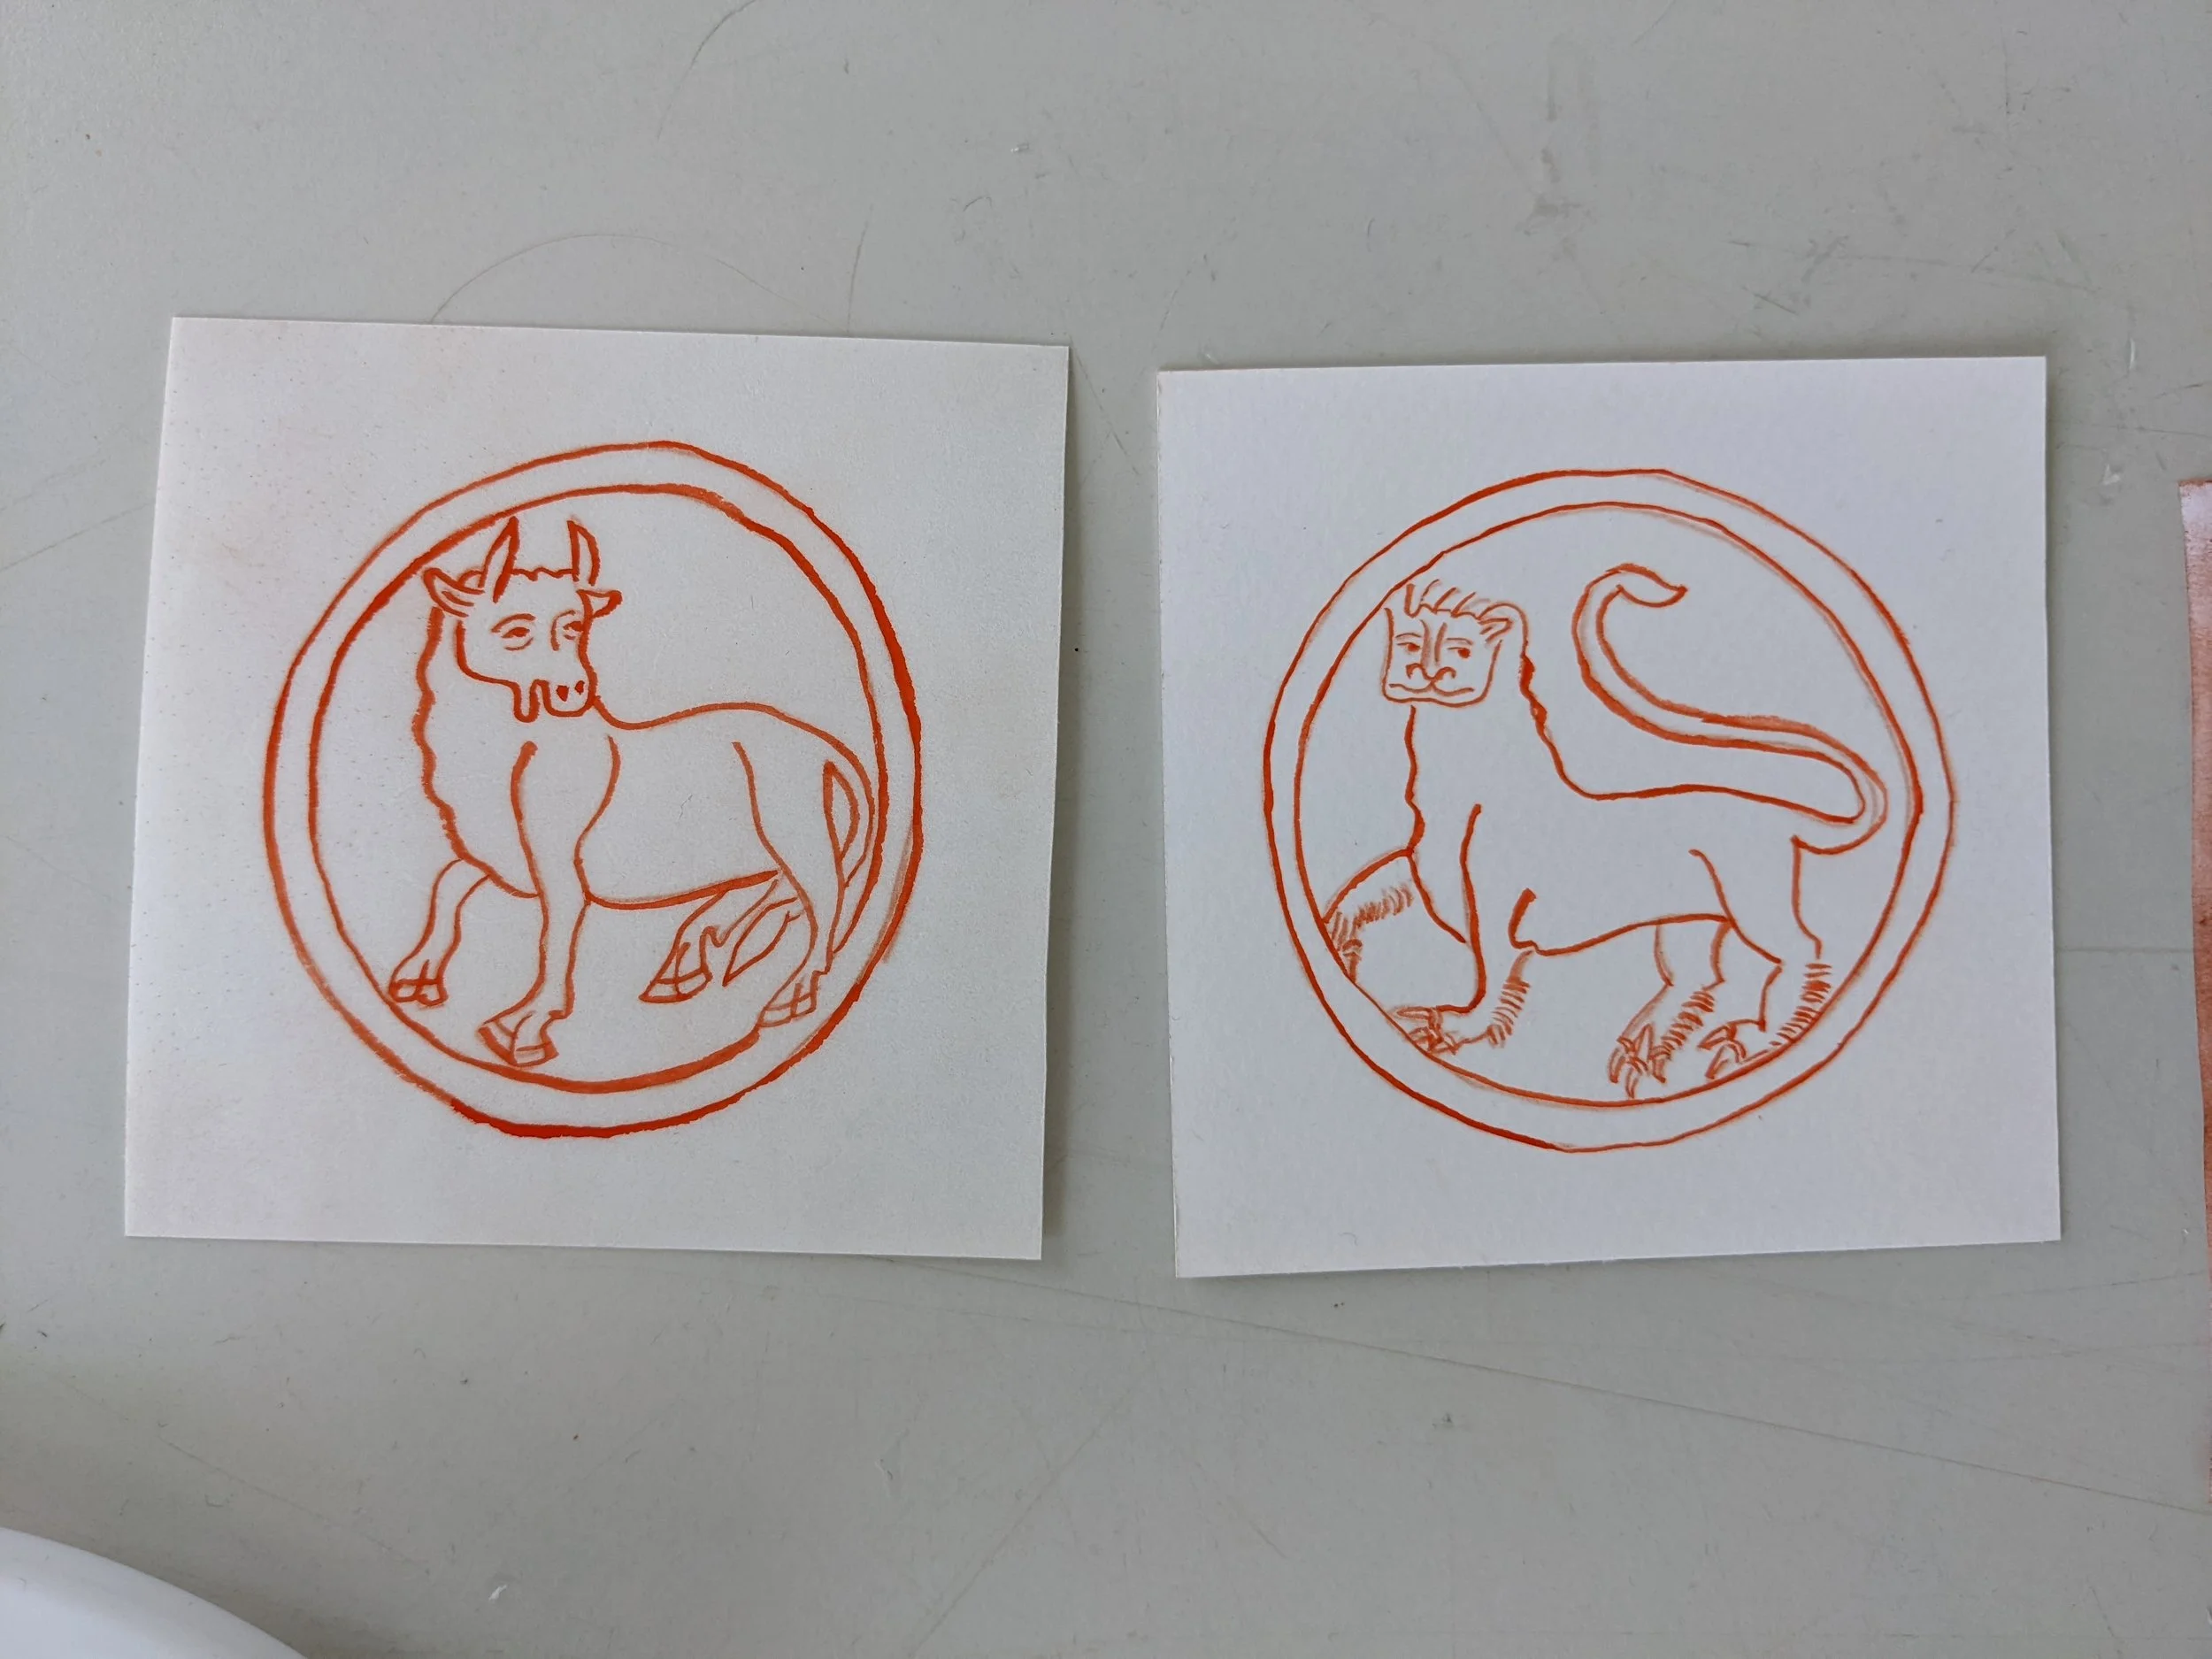
Traced outlines

Adding gold leaf

Adding paint
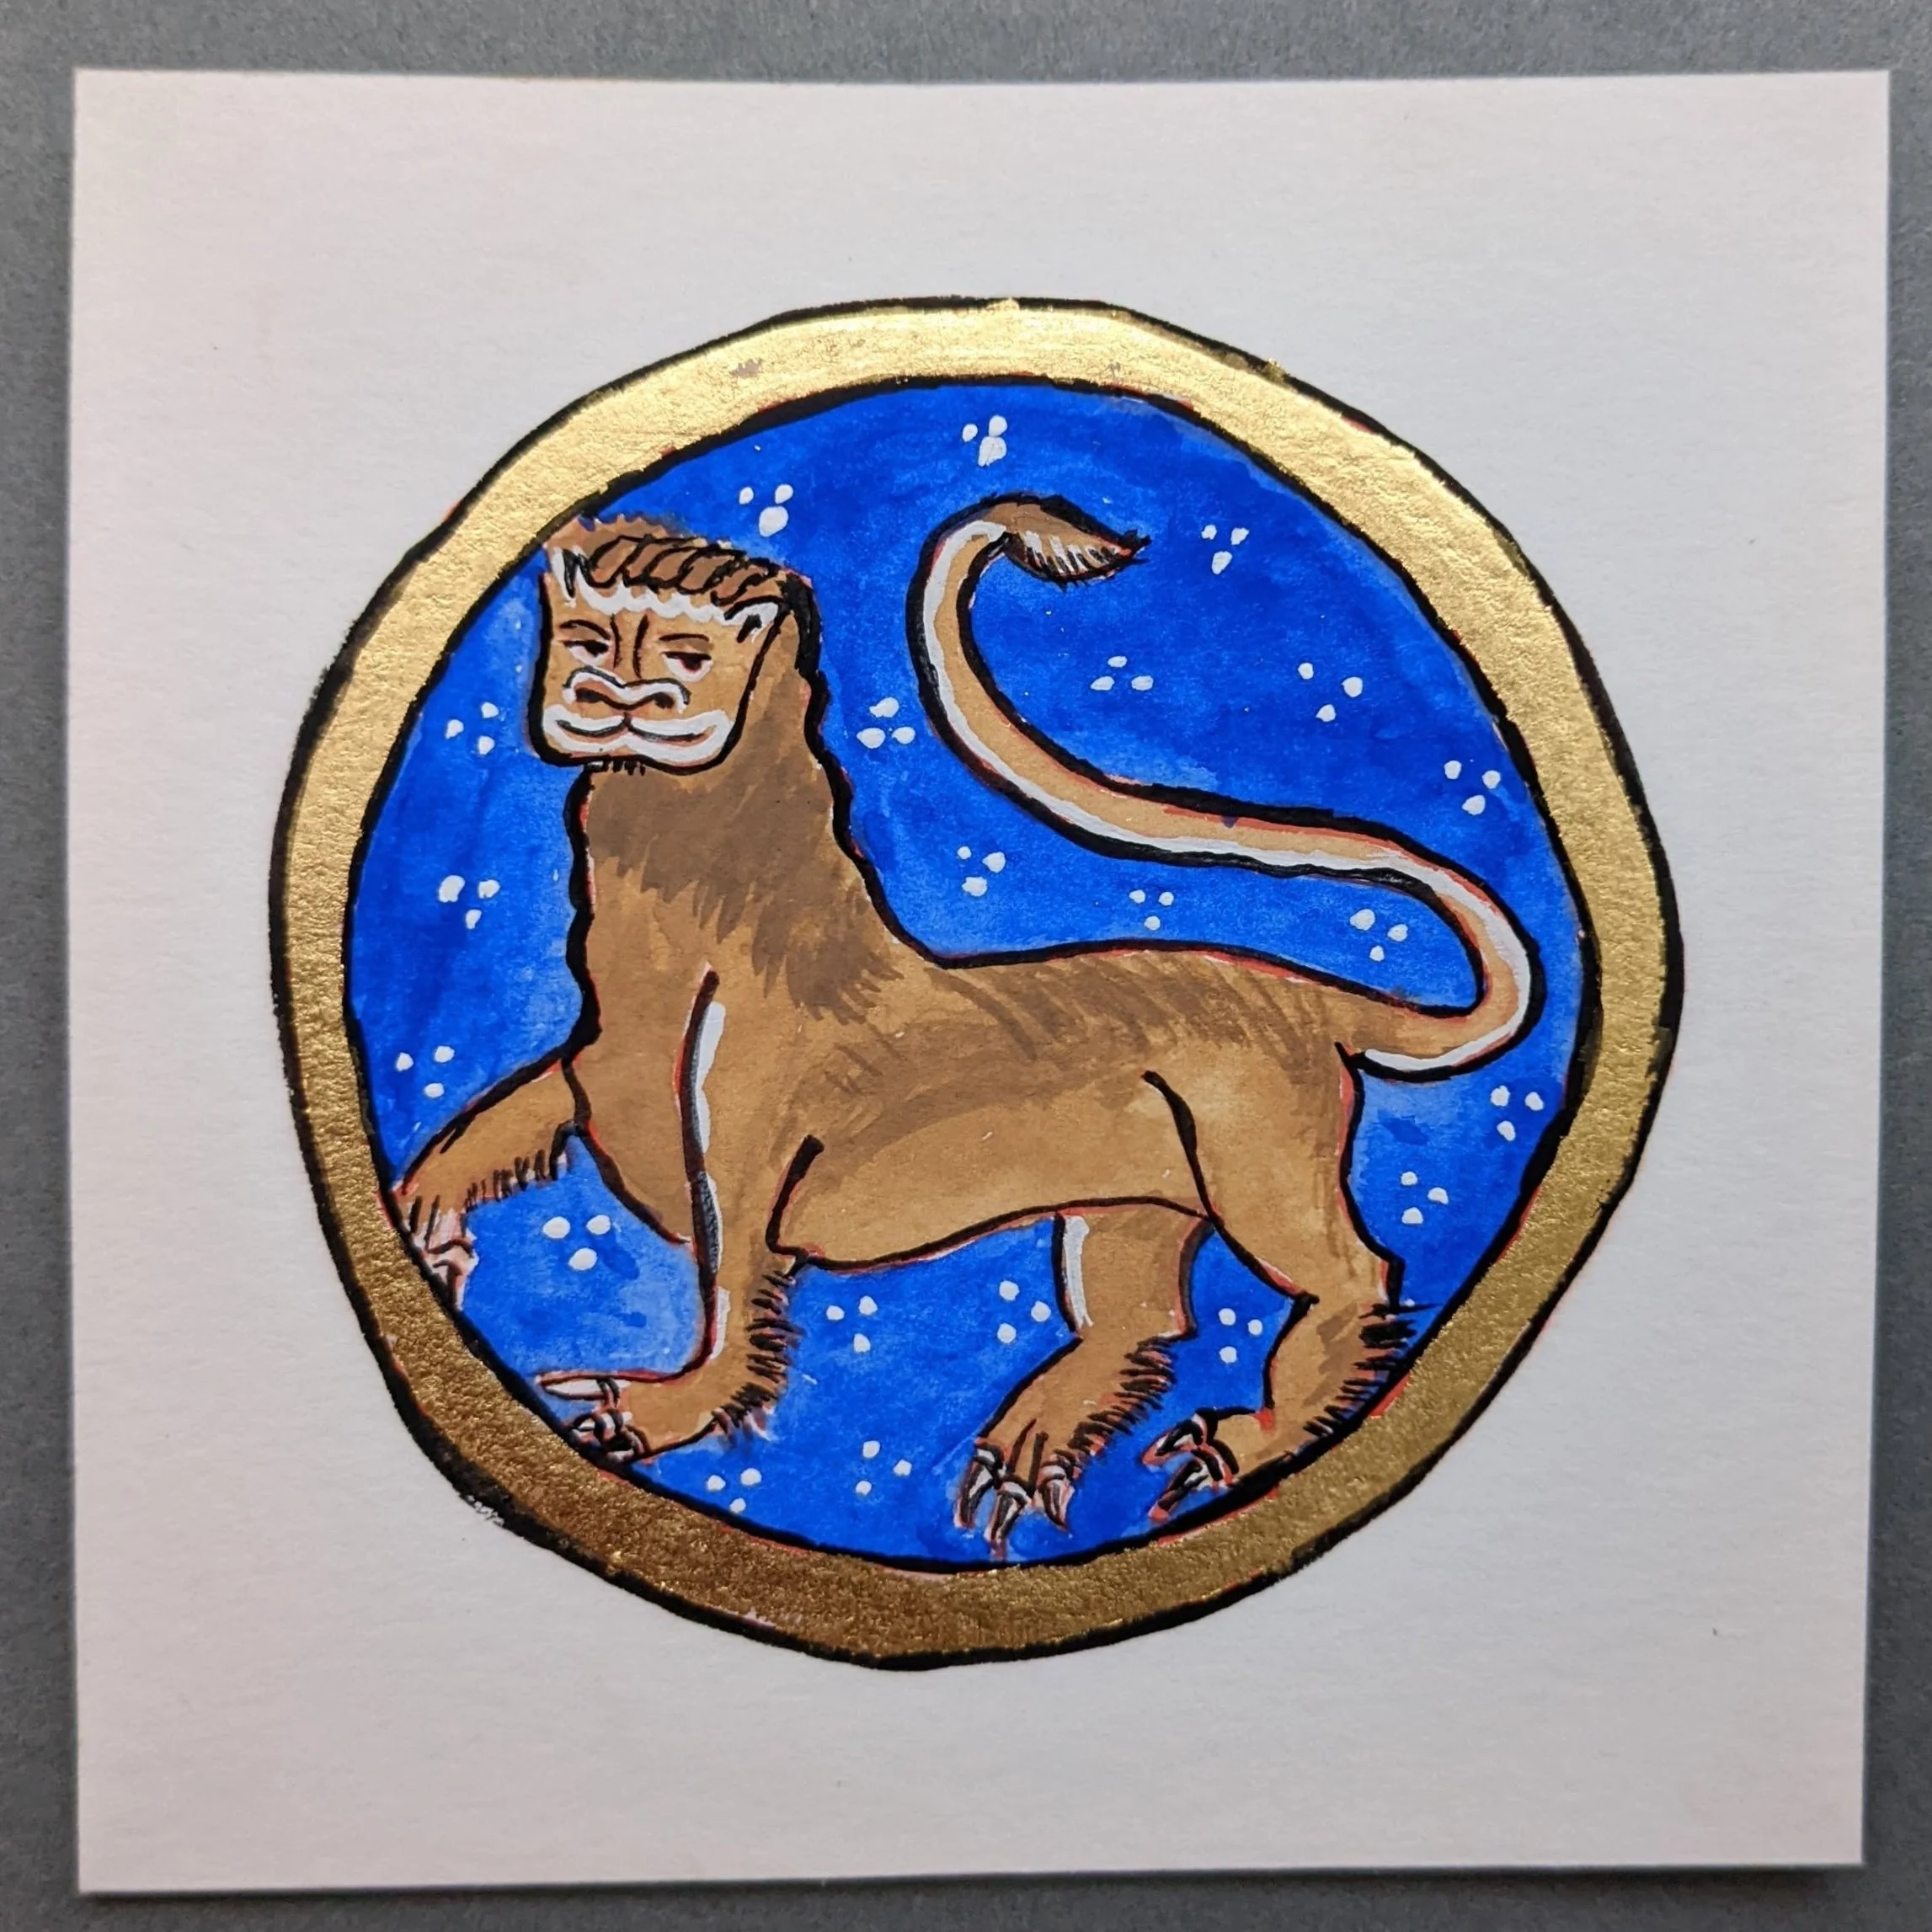
Finished drawing
Calligraphy
Taught by Rosella Garavaglia
This course explored the historical origins of western calligraphy. We also learned about traditional writing tools and parchment preparation. We practised writing in Half Uncial, Uncial, Carolingian, and Gothic scripts.

Marking out the bifolium

Tracing the outline of a decorated initial

Gilding

Final calligraphy, written on vellum
Recreating the Medieval Palette
Taught by Cheryl Porter
In this course, we studied the colours (made from rocks, minerals, metals, insects, and plants) that were processed to produce the colours used by artists throughout the medieval era. Focusing on manuscript art – Islamic, Hebrew, and European — we recreated the colours using original recipes, accompanied by lectures on history, geography, chemistry, iconography as well as conservation issues.
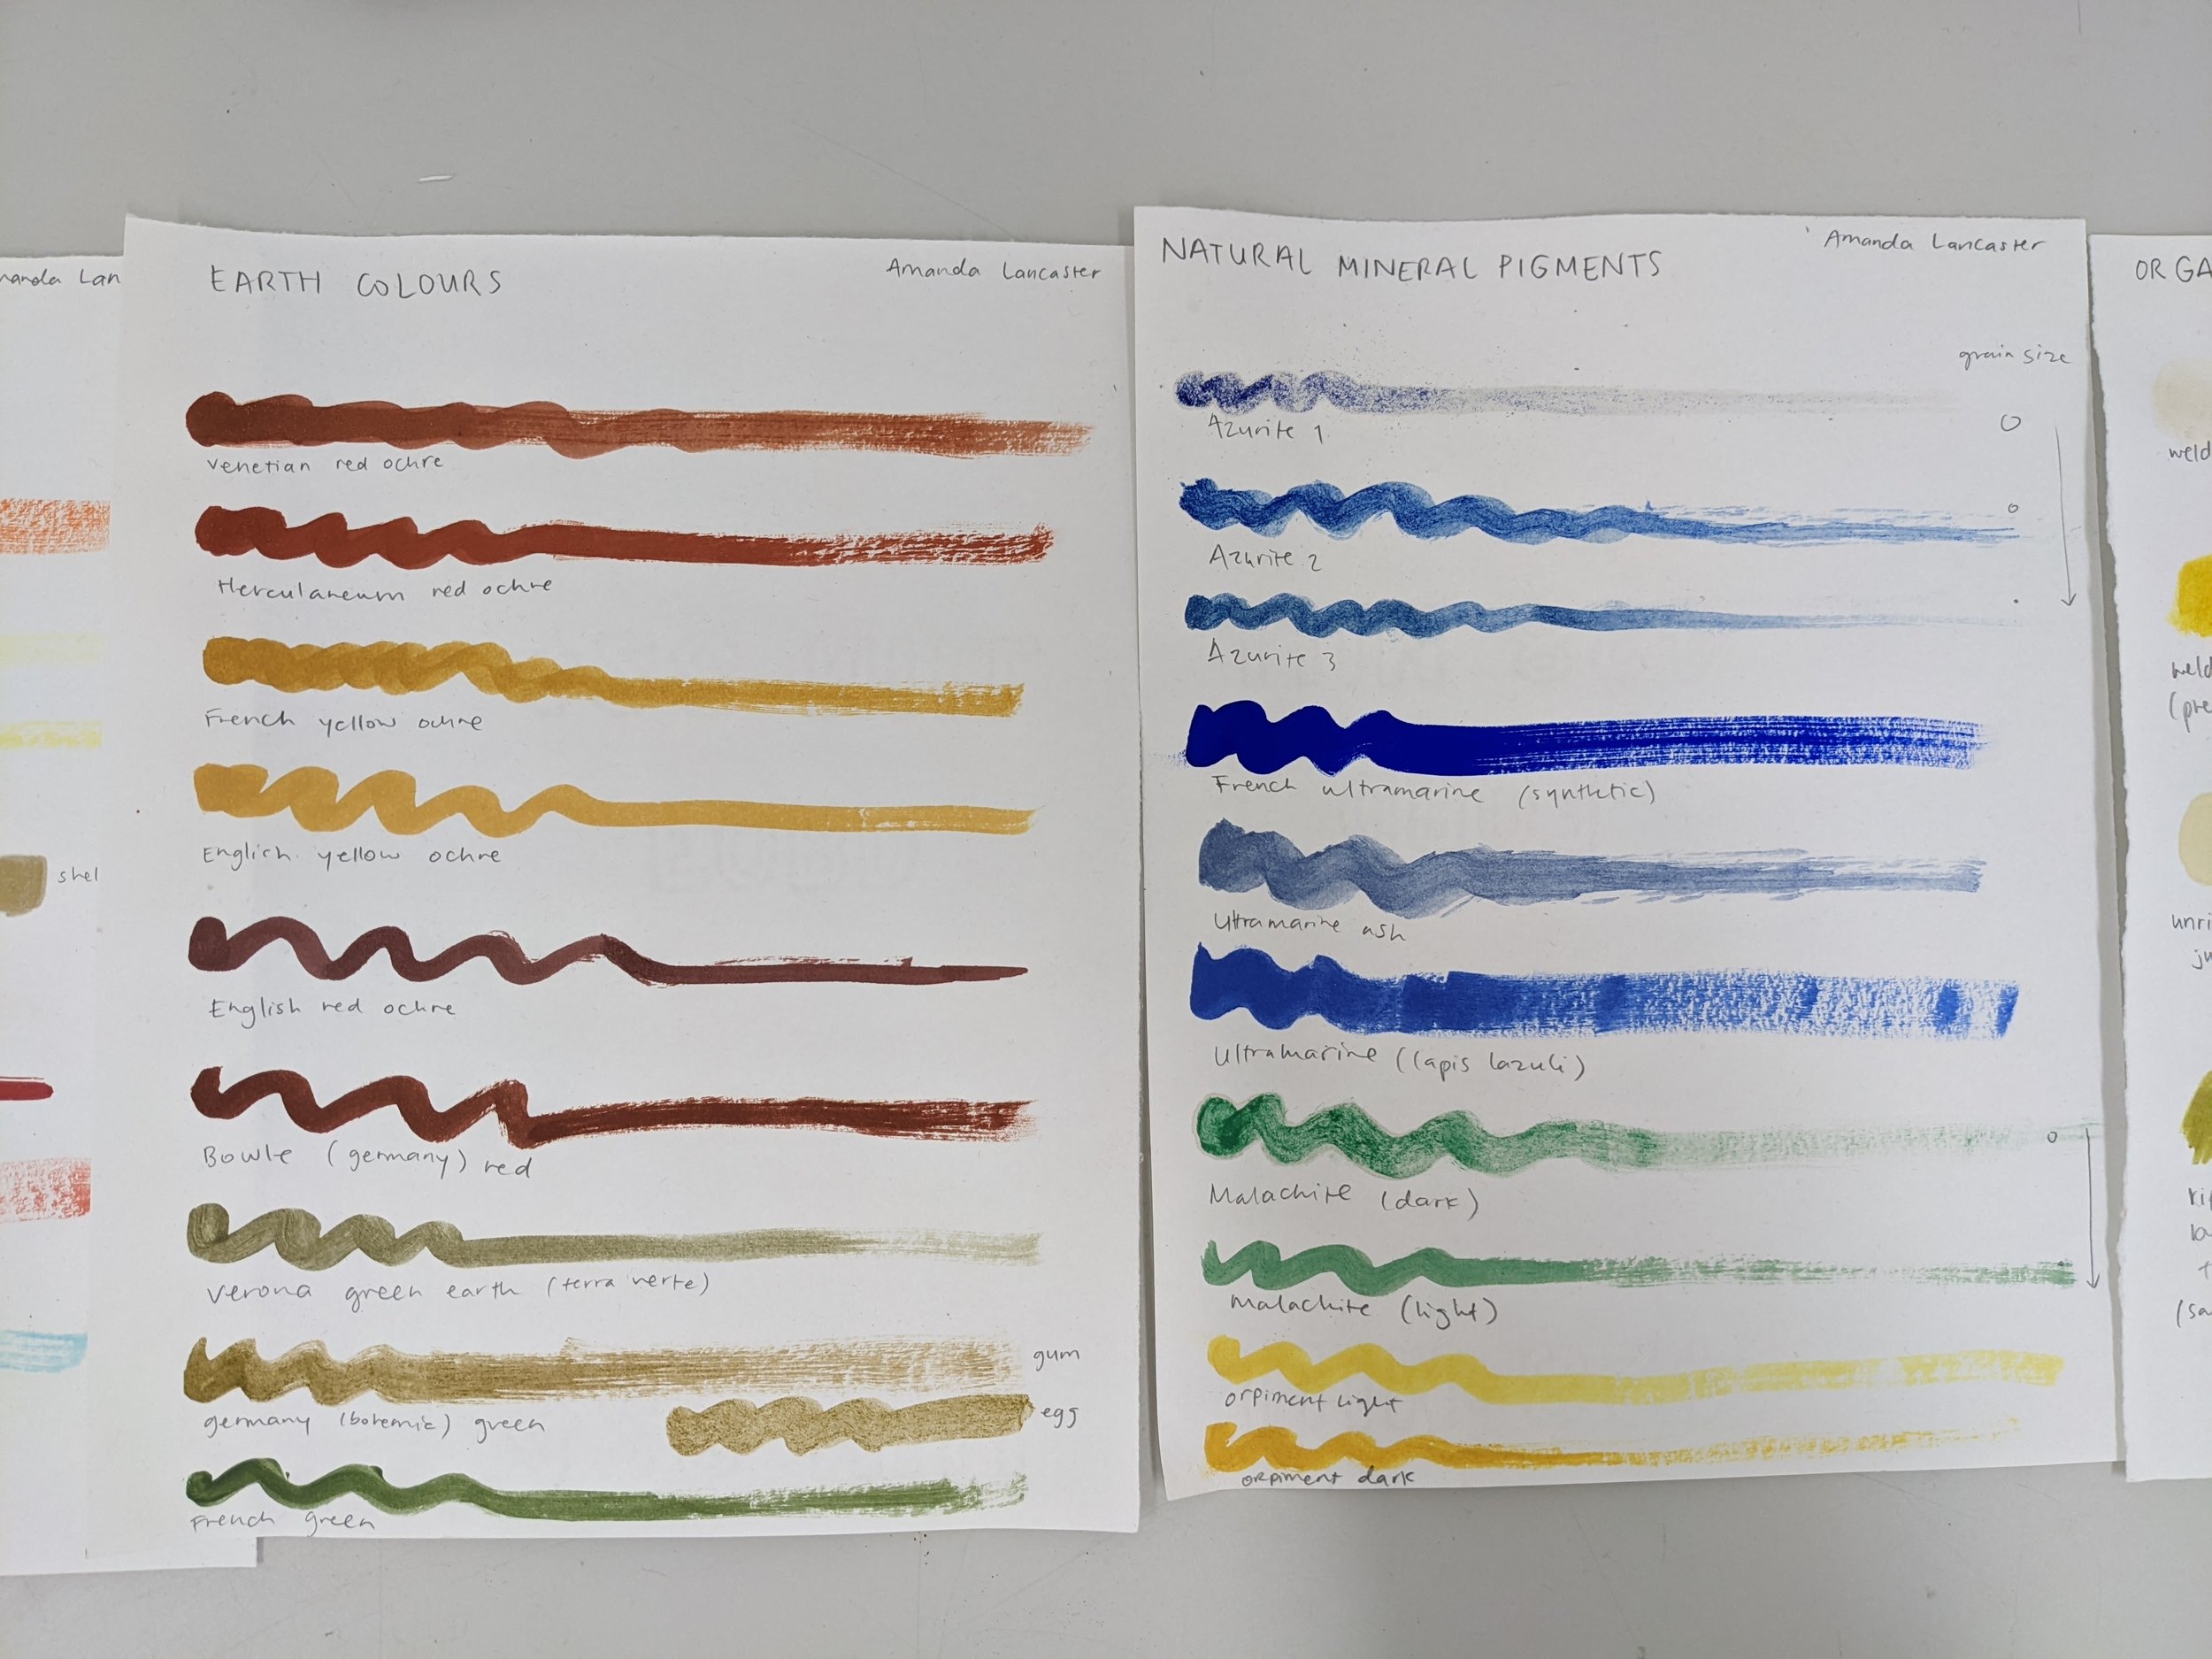
Colour charts produced in class

Mixing red ochre with a binder

Lapis lazuli
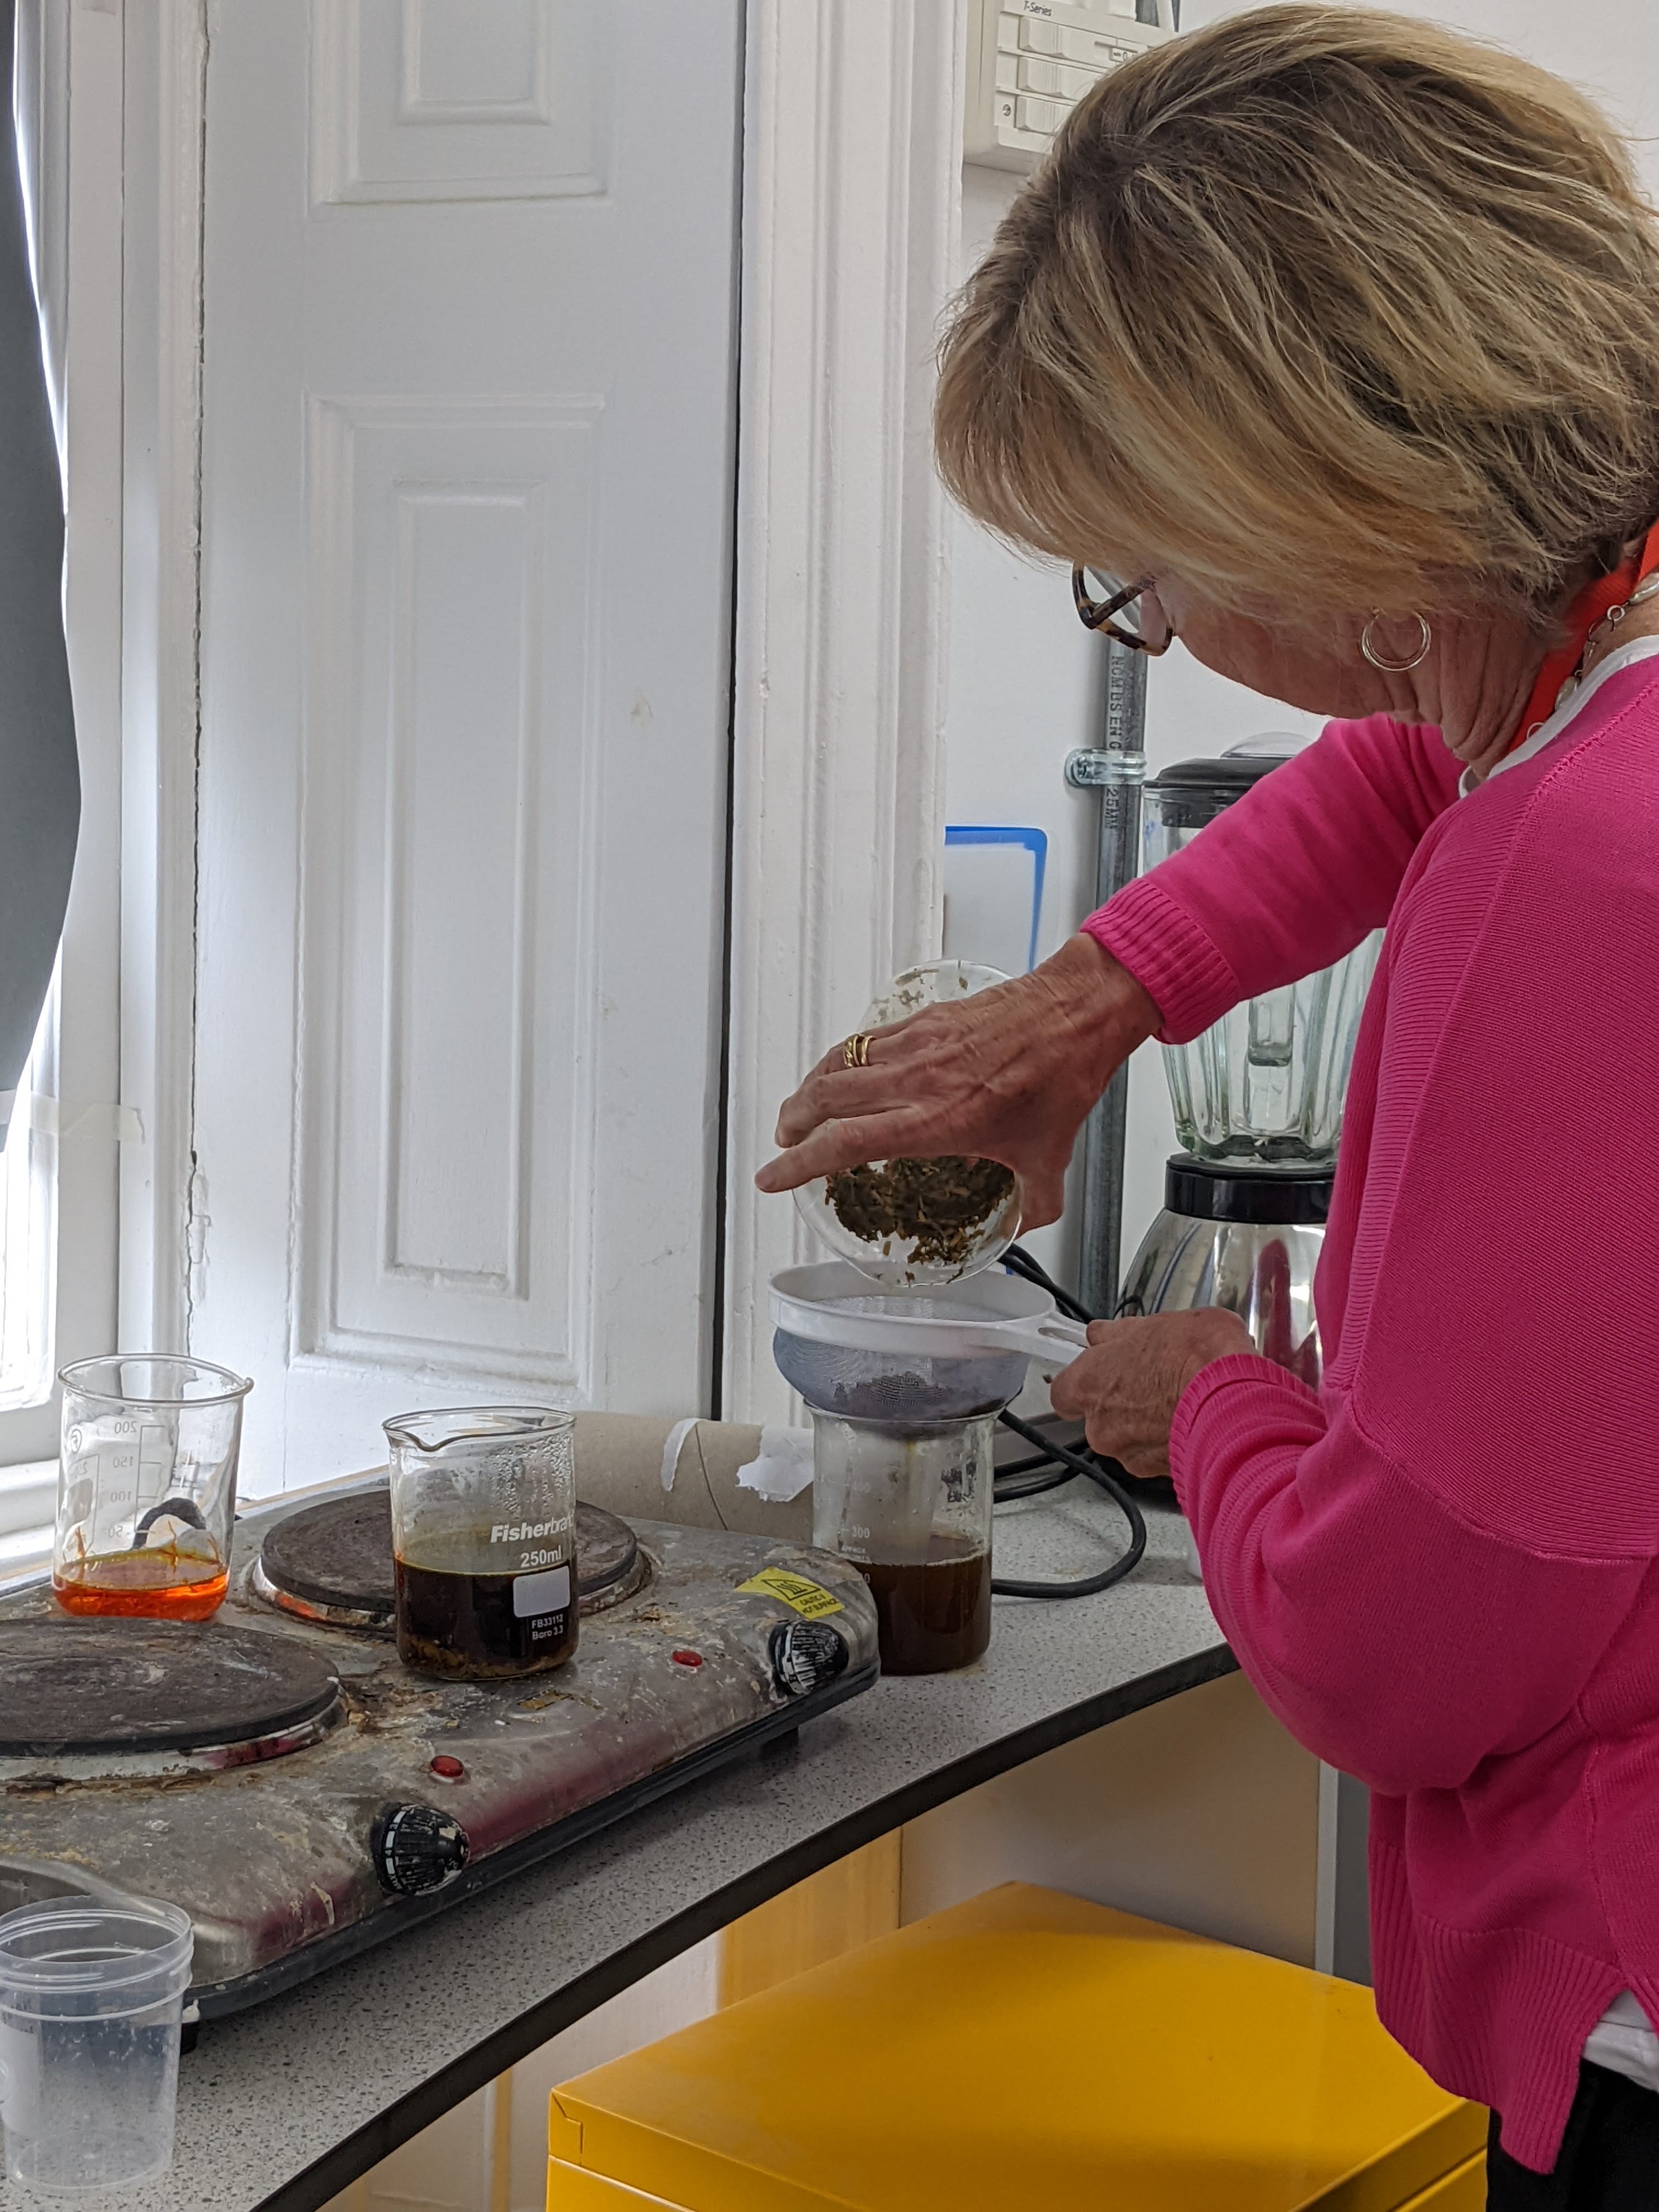
Making sap green from buckthorn

Sample dyes on leather

Sample paints made in class
Print Making
Taught by Jason Hicklin
This course provided a survey of many different historic print techniques. Through practical workshops, we learned a number of print processes and methods including hard & soft ground etchingm sugar-lift aquatint, monotype, chine-collé, woodcut, silkscreen and linocut
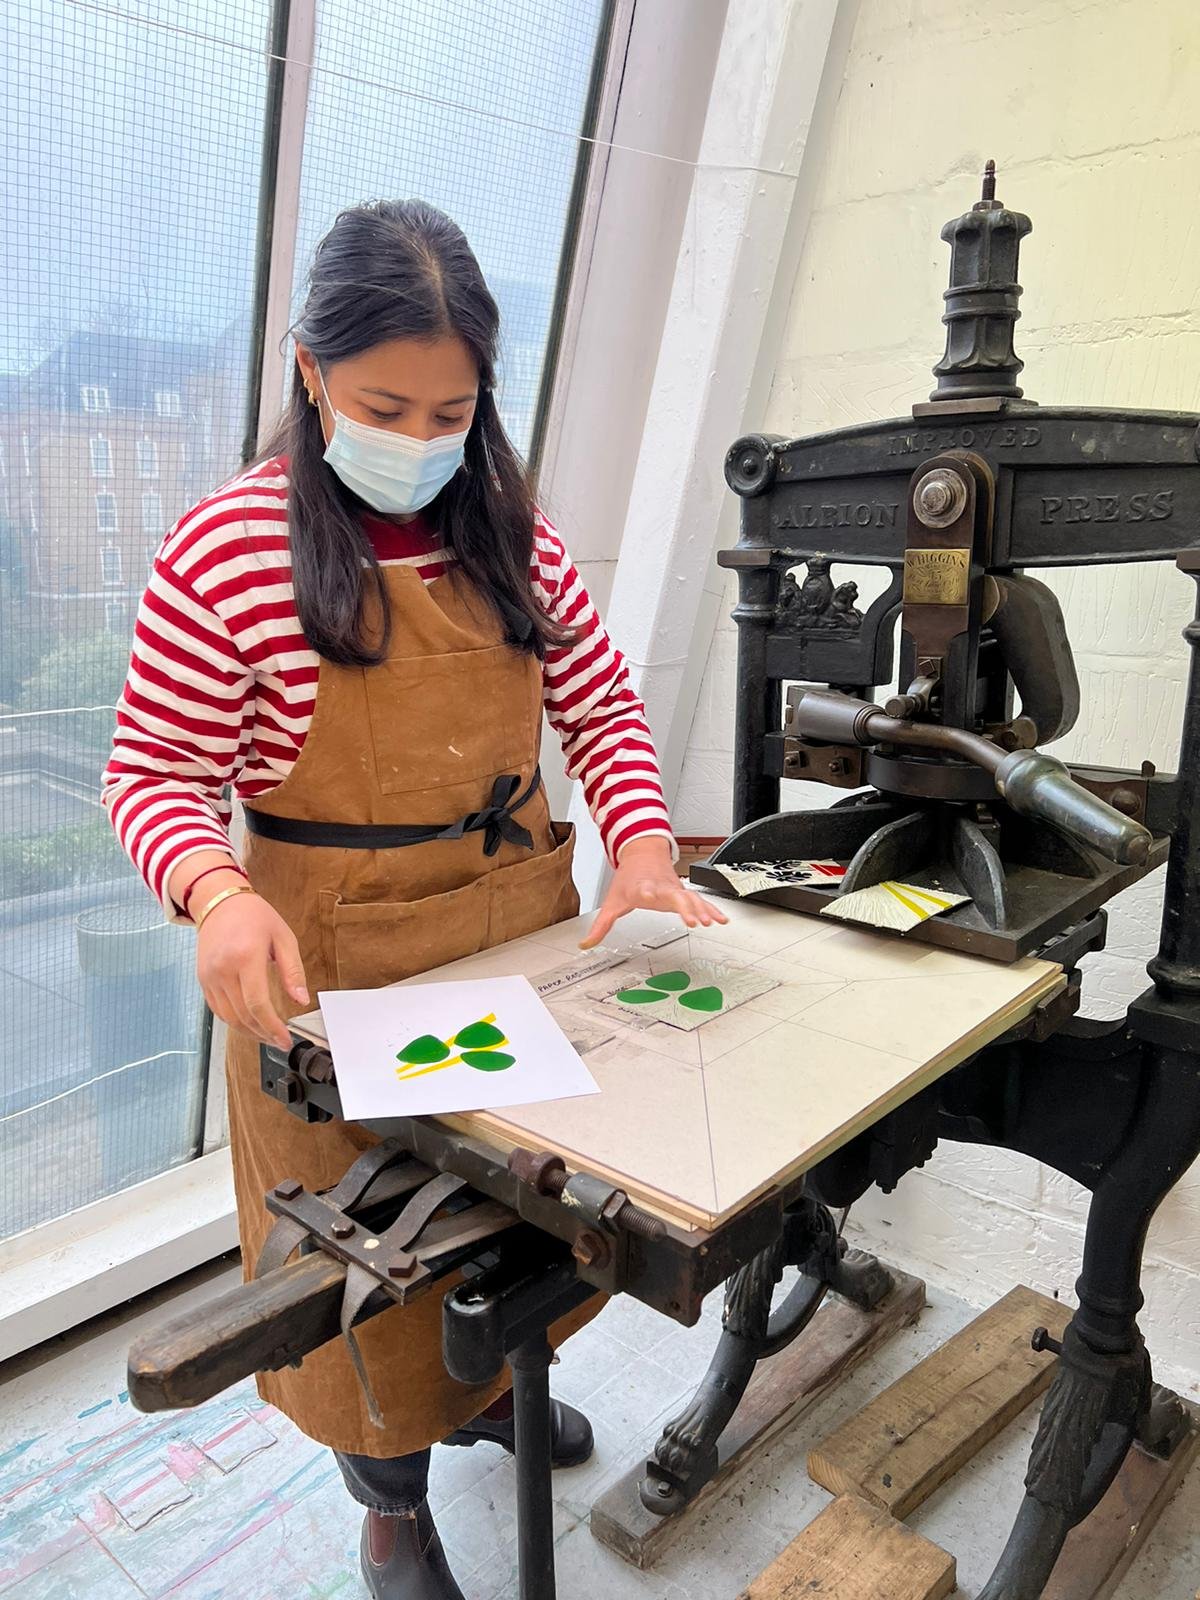
Printing our linoleum prints
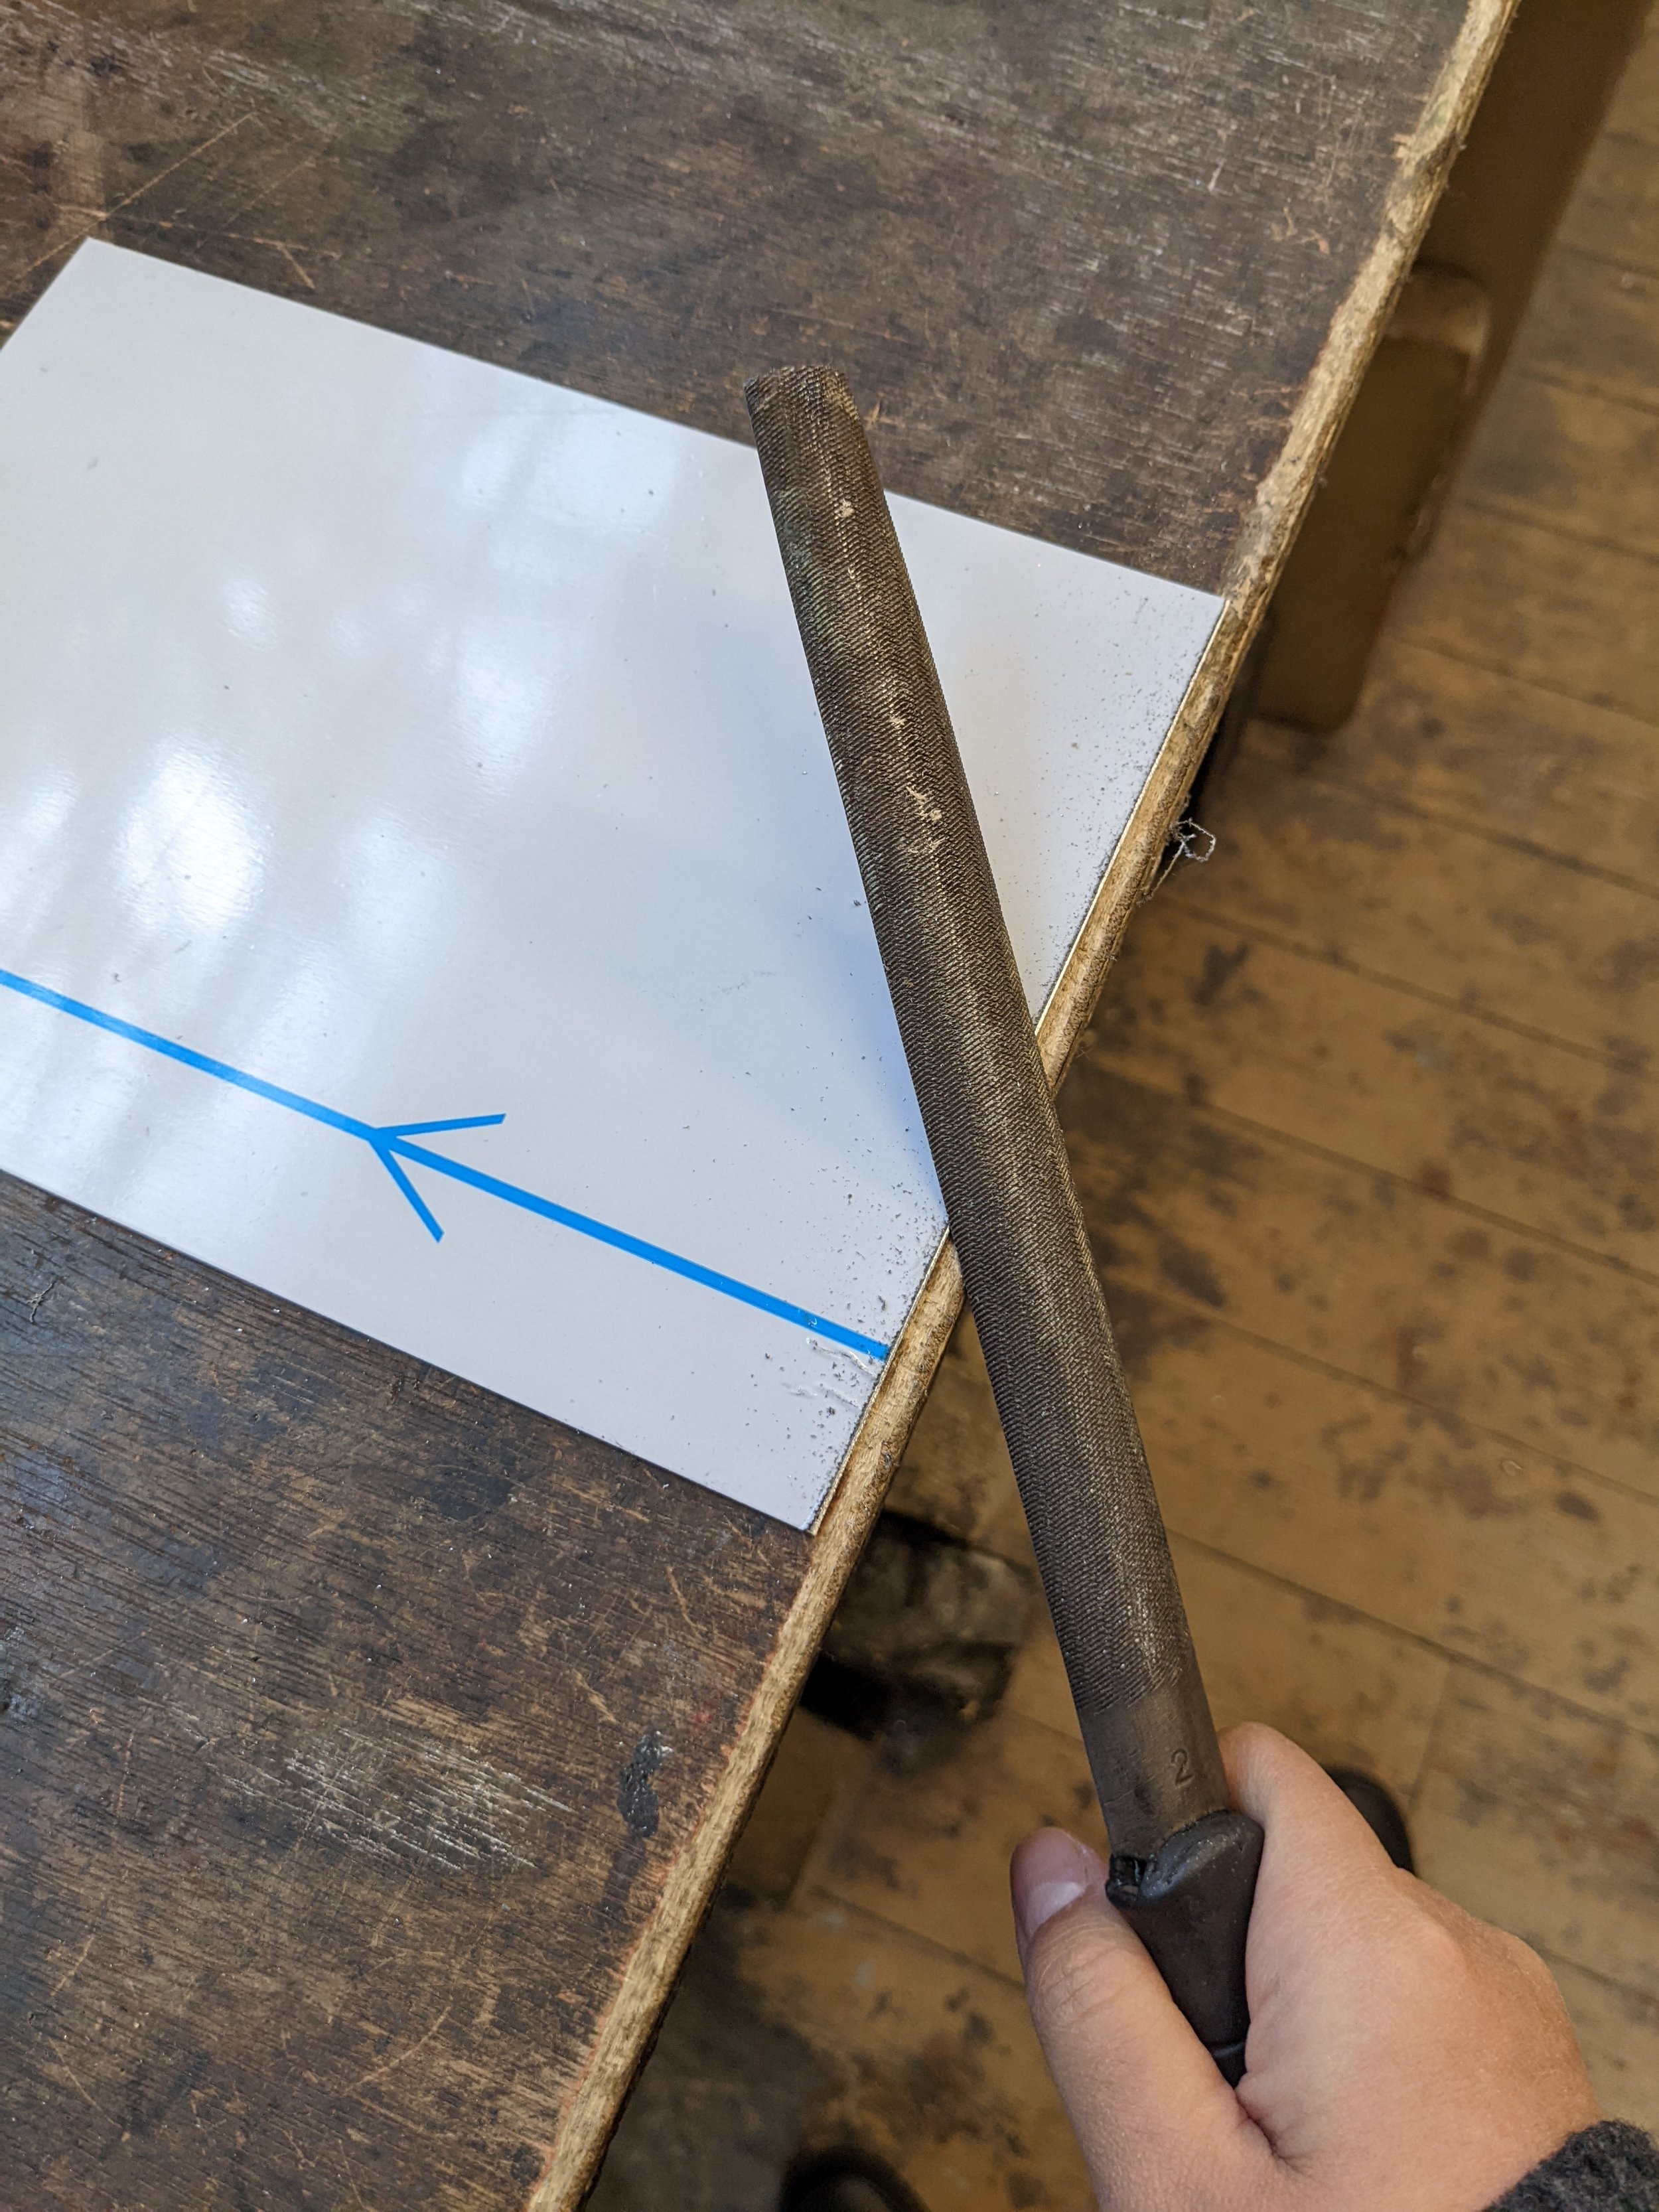
Preparing zinc plates for etching

Drawing our hard ground designs

First state of print

Firing up the resin for our aquatint
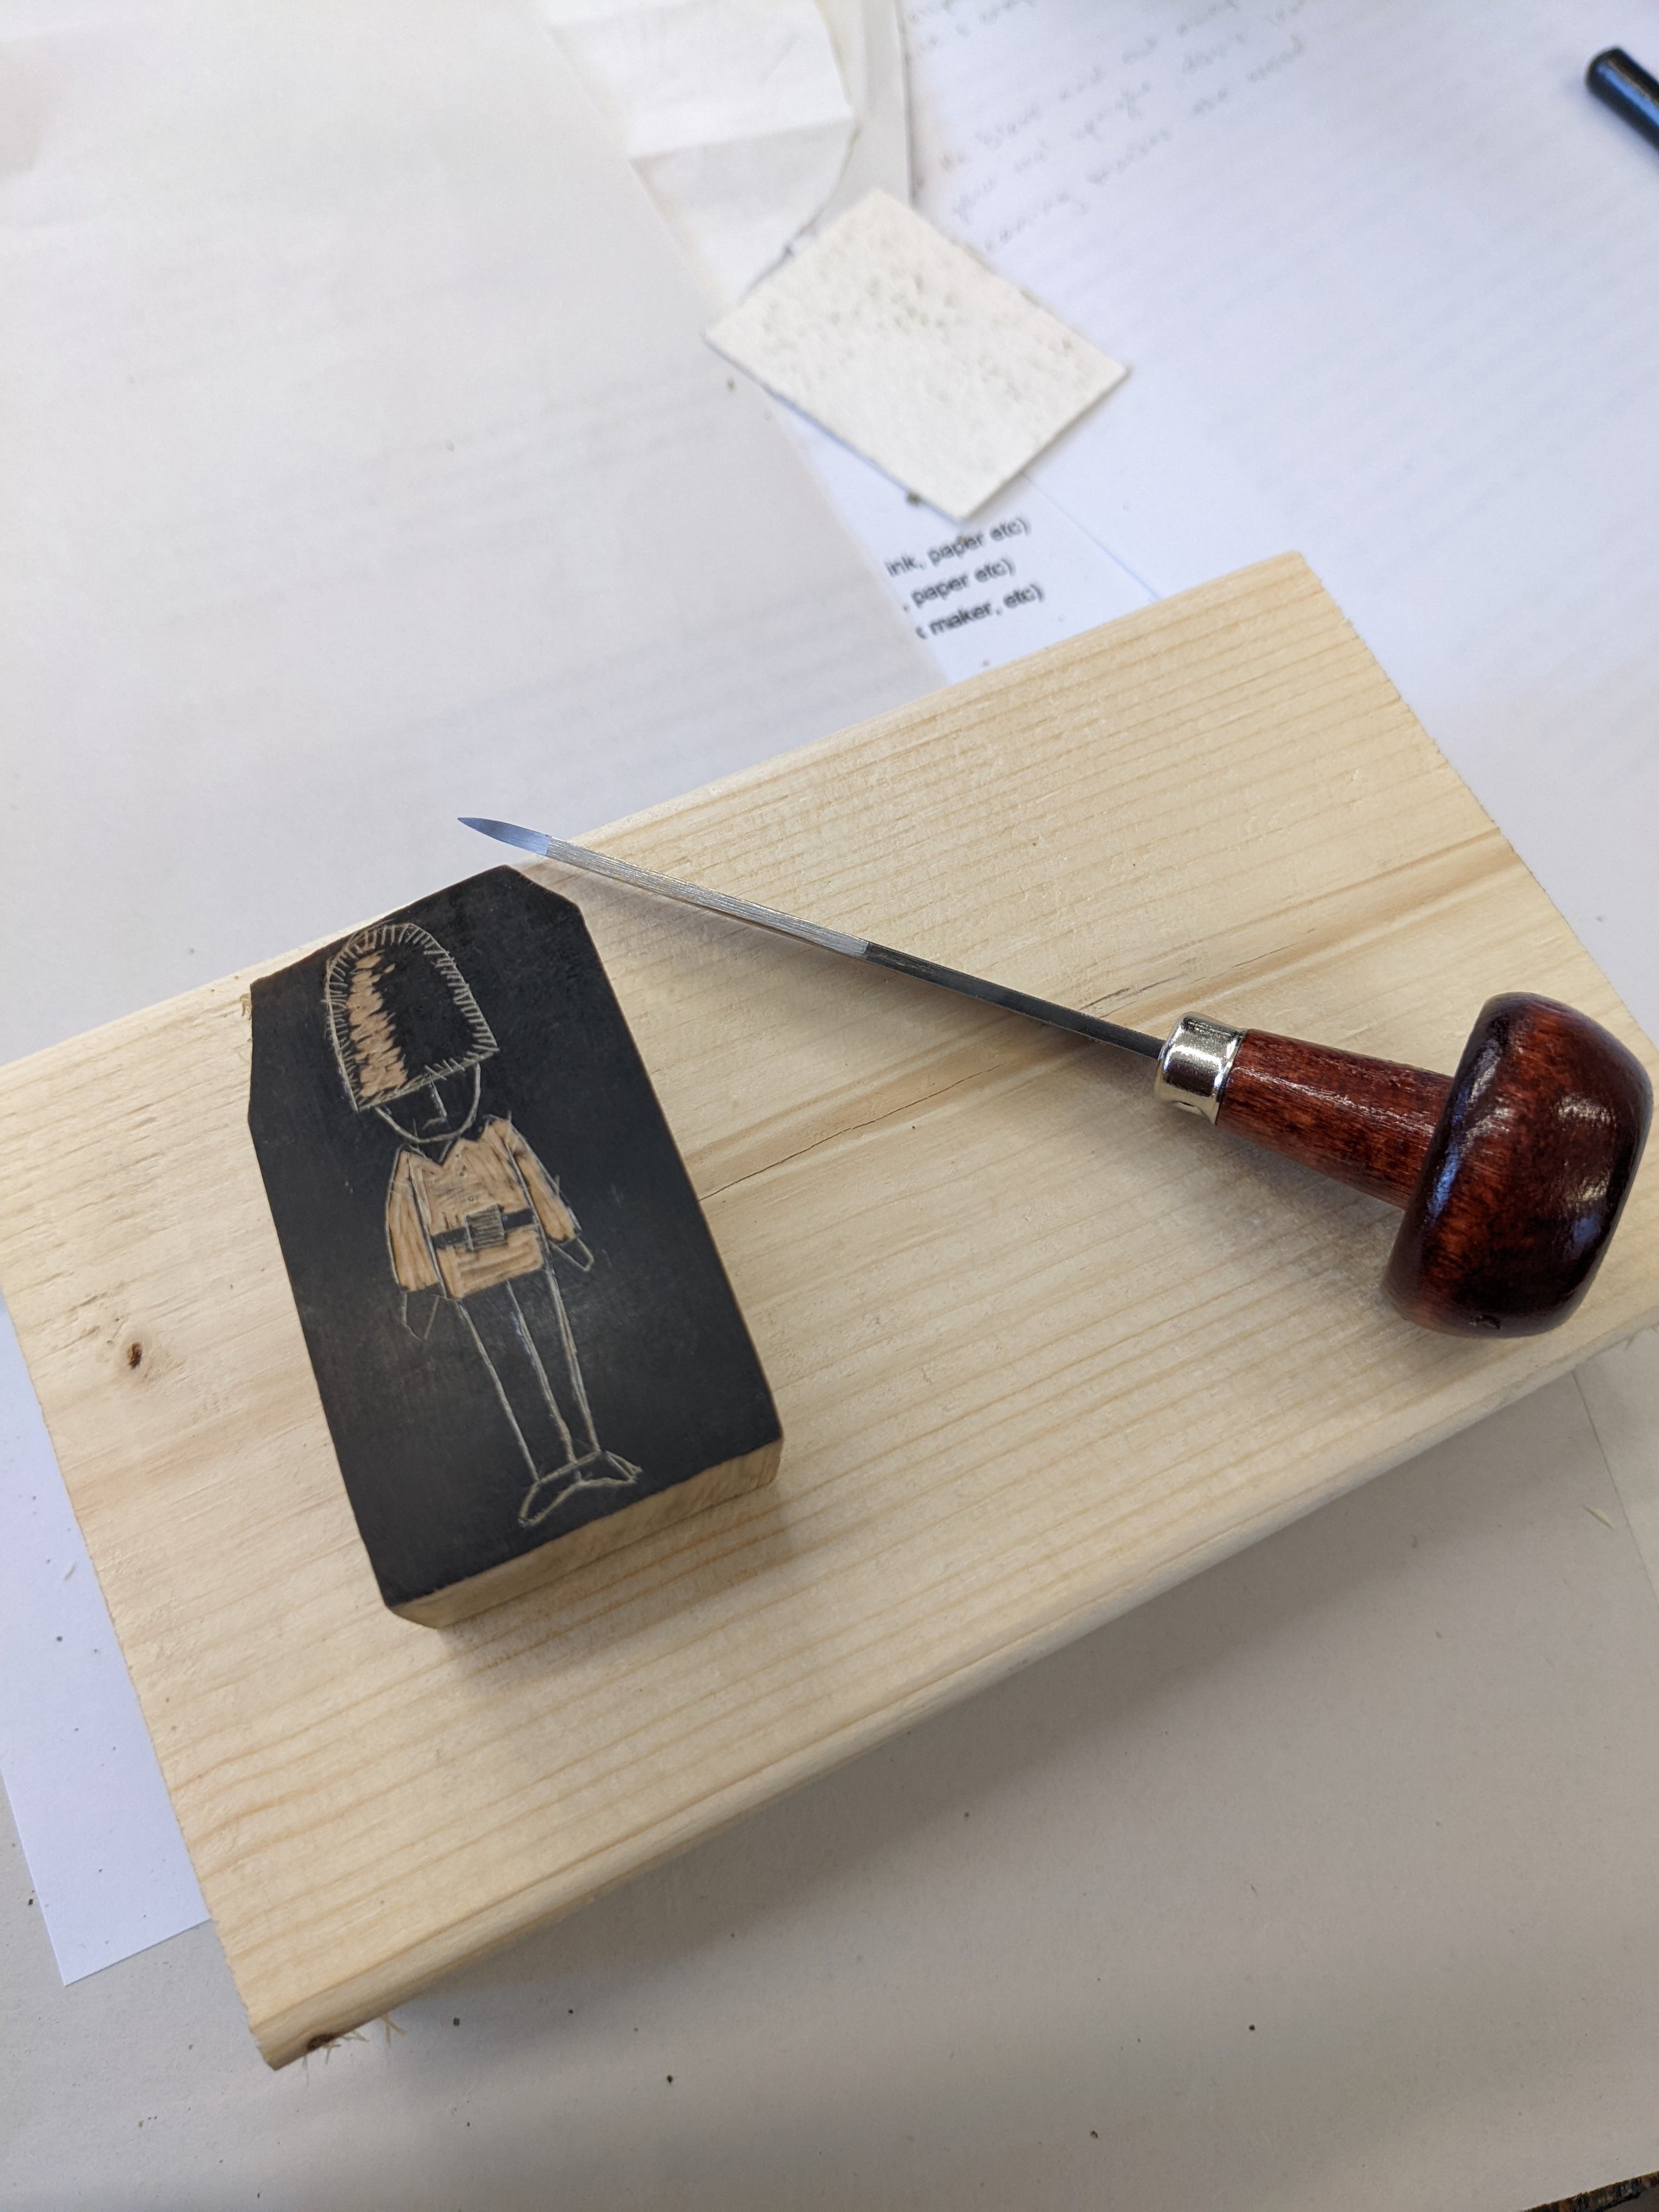
Carving our woodcut design
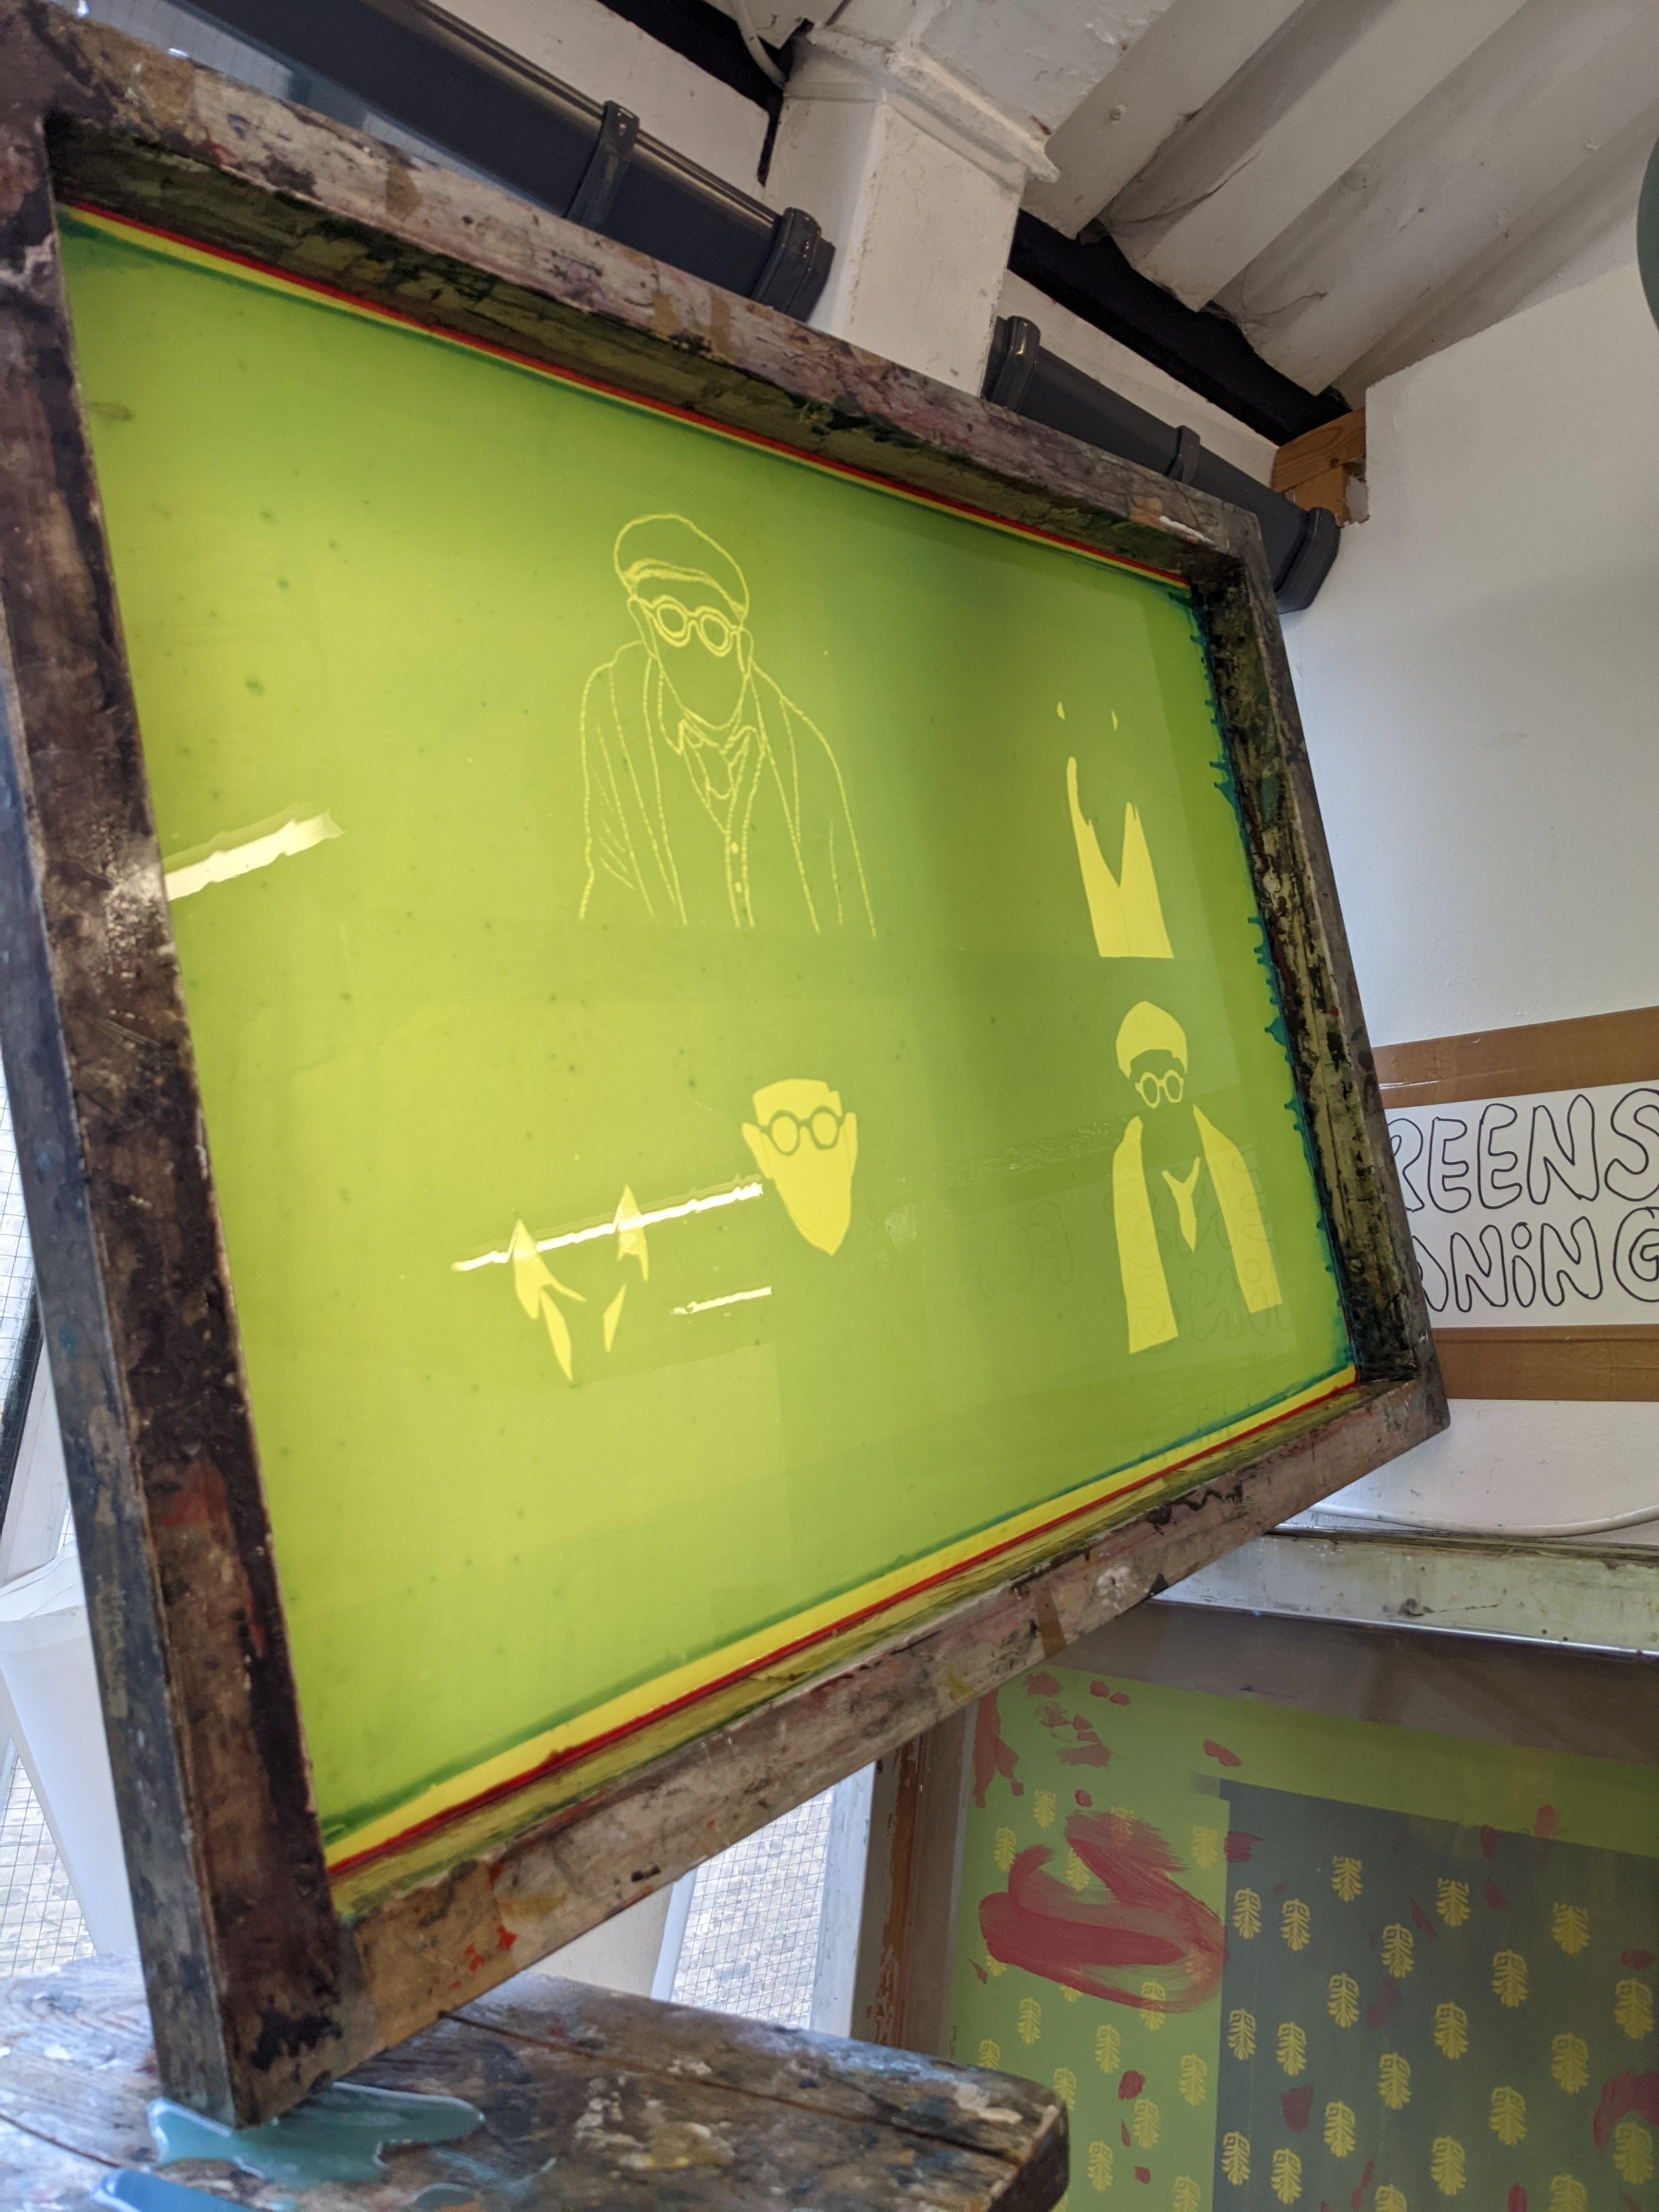
Silkscreen after UV exposure

Colour mixing
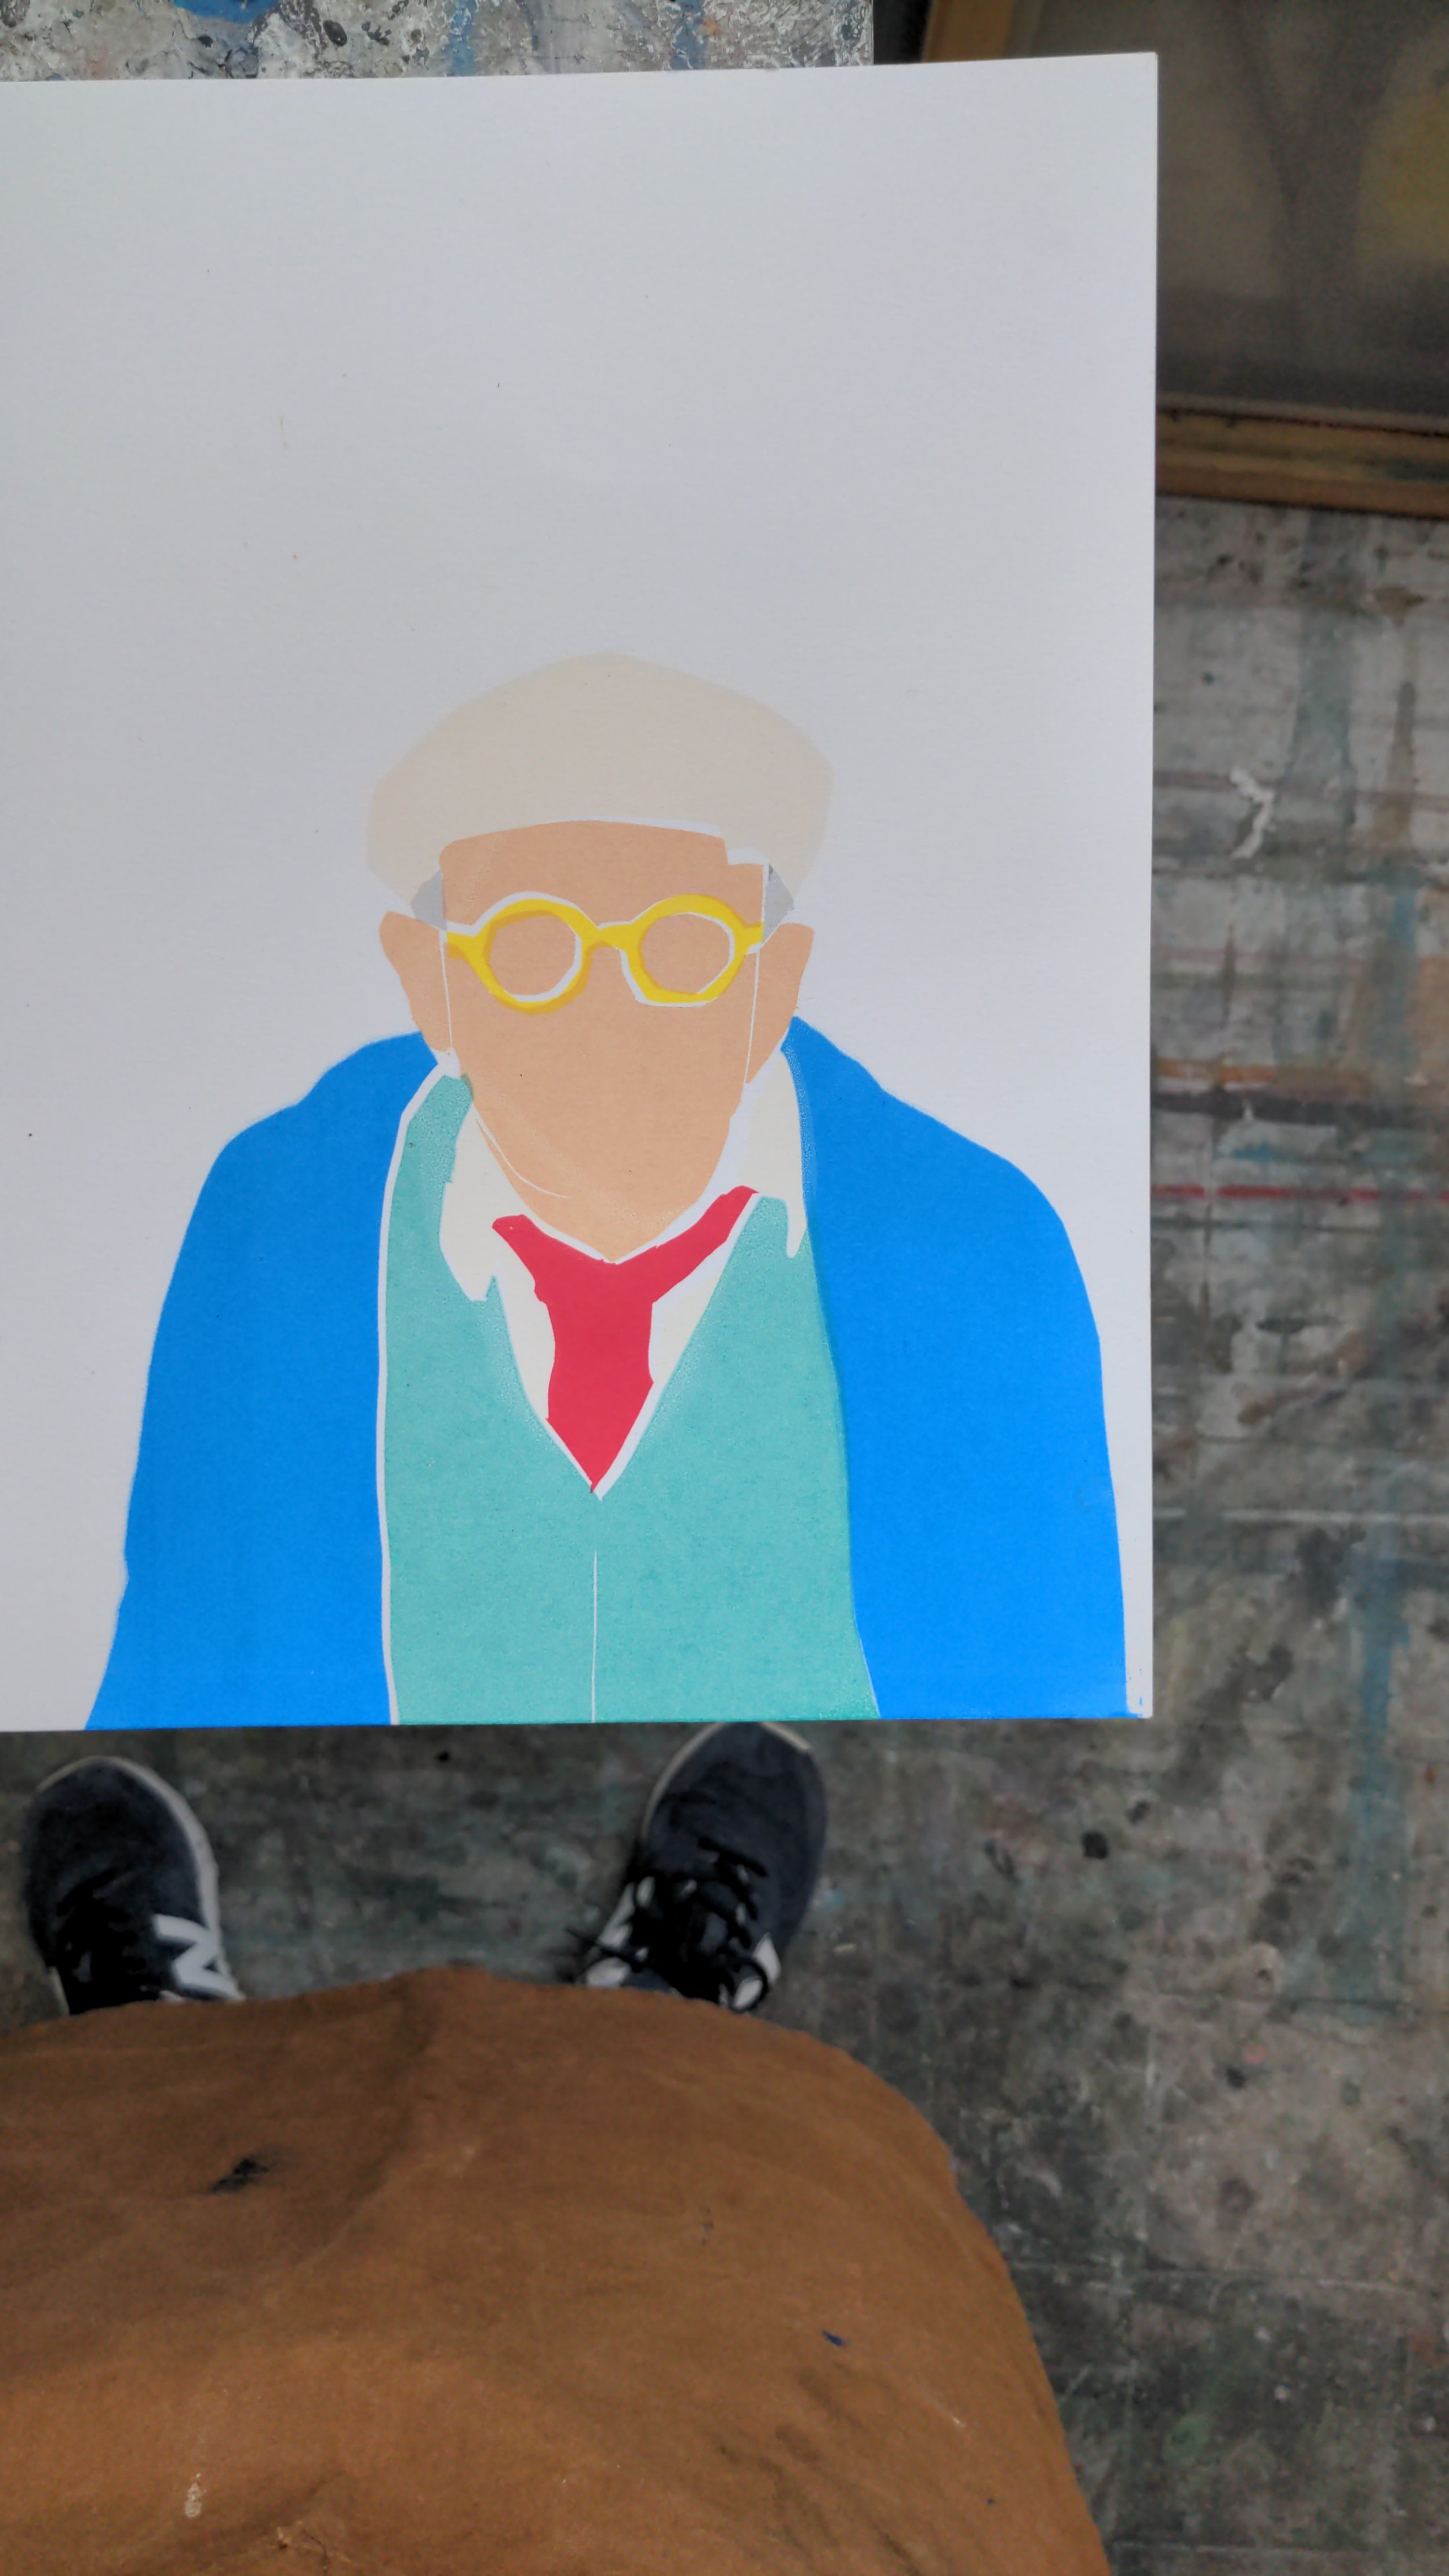
Final silkscreen print